Managing permissions

A user's permissions define what they can do on a portal. See below for a description of these permissions, broken into five roughly functional groups, and what they allow your users to do.
Editing a user's permissions
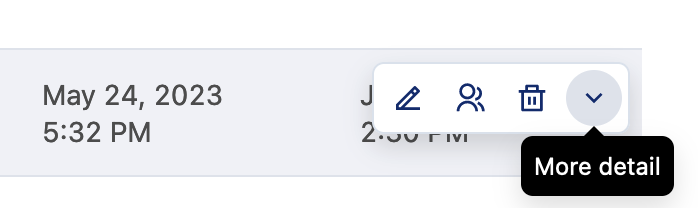
To check your or another user's permissions, go to your back office, Access > Users, then either click on the down arrow icon to expand the information for that user in the list of users, or else click on the pencil icon to edit that user's information.
There, under "Permissions," click on Manage permissions.
You can also set default permissions for all new users. See below for more information.
There are five groups of permissions. You can grant whole groups of permissions, or select specific permissions within each group to give your users.
Remember that authenticated users can generate and manage their own API keys. API keys inherit all permissions granted to the user for which it has been created.That's why administrators should be cautious with the permissions they grant to users. Administrators can revoke a user's API keys in Access -> API keys. If you observe unauthorized usage of an API key or if an API key gets exposed, we recommend that you contact Opendatasoft support to get help identifying and revoking the leaked API key.
Domain permissions
These permissions allow a user to edit your workspaces and theme.
Permission | Description |
Edit workspace properties | The user may configure all options and parameters in the Assets, Look & Feel (all subsections except for Theme), Users & Groups, Configuration and Plans sections of the back office. |
Manage all secondary workspaces | This permission grants access to the Workspaces section of the back office. If workspaces are enabled on your portal, the user with this permission may create, edit, and delete them. For example, they can create secondary workspaces, and distribute pages, datasets, and quotas from the main workspace to them. |
Manage the workspace theme | This permission grants access to the Look & Feel section of the back office. The user may configure all options and parameters in the Look & Feel > Theme and Look & Feel > Dataset themes subsections within the Look & Feel section of the back office. To access the other subsections (Branding, Data visualizations, and Navigation), the "Edit domain properties" permission is required. These settings change the appearance of your portal. |
Dataset permissions
These permissions allow a user to create, edit, publish, browse and manage the security of your datasets.
Remember that these are general permissions that apply to your entire workspace, but a user can also be given permissions for individual datasets.
Permission | Description |
Create new datasets | This permission grants access to the Catalog section of the back office. The user may create and edit new datasets (but not publish them—to do so, the "Publish own datasets" permission is required), within limits defined by the quotas. |
Edit all datasets | This permission grants access to the Catalog section of the back office. The user may edit all existing datasets (but not publish them—to do so, the "Publish own datasets" permission is required). |
Publish own datasets | This permission does not grant access to the back office. However, the user can publish the datasets they have permission to edit. |
Browse all datasets | This permission does not grant access to the back office. However, the user may access all data on all published datasets, regardless of the security parameters set for the user or the datasets (including restricted datasets). |
Manage own datasets' security | This permission does not grant access to the back office. However, the user can manage the security options and parameters for the datasets they have permission to edit. For example, they can decide which users and groups are able to access the datasets, which records are visible, etc. |
Page permissions
Permission | Description |
Create new pages | This permission grants access to the Pages section of the back office. The user may create, edit, and publish pages. |
Edit all pages | This permission grants access to the Pages section of the back office. The user may edit and delete all existing pages within the workspace. |
Browse all pages | This permission does not grant access to the back office. However, the user may access all pages, regardless of the security parameters set for the user or for the pages (including private pages). |
Manage own pages' security | This permission does not grant access to the back office. However, the user can manage security options and parameters for the pages they have the permission to edit (access policy, and page-level permissions on defined users and groups). |
Analytics permissions
Permission | Description |
Browse analytics | This permission grants access to the Analytics section of the back office. The user may access all analytics dashboards, both for the workspace and for datasets.
|
Reuses permissions
Permission | Description |
Reuses | This permission grants access to the Reuses section of the back office. The user may see, approve, reject, and delete requests for reuses on the portal. |
New users' default permissions
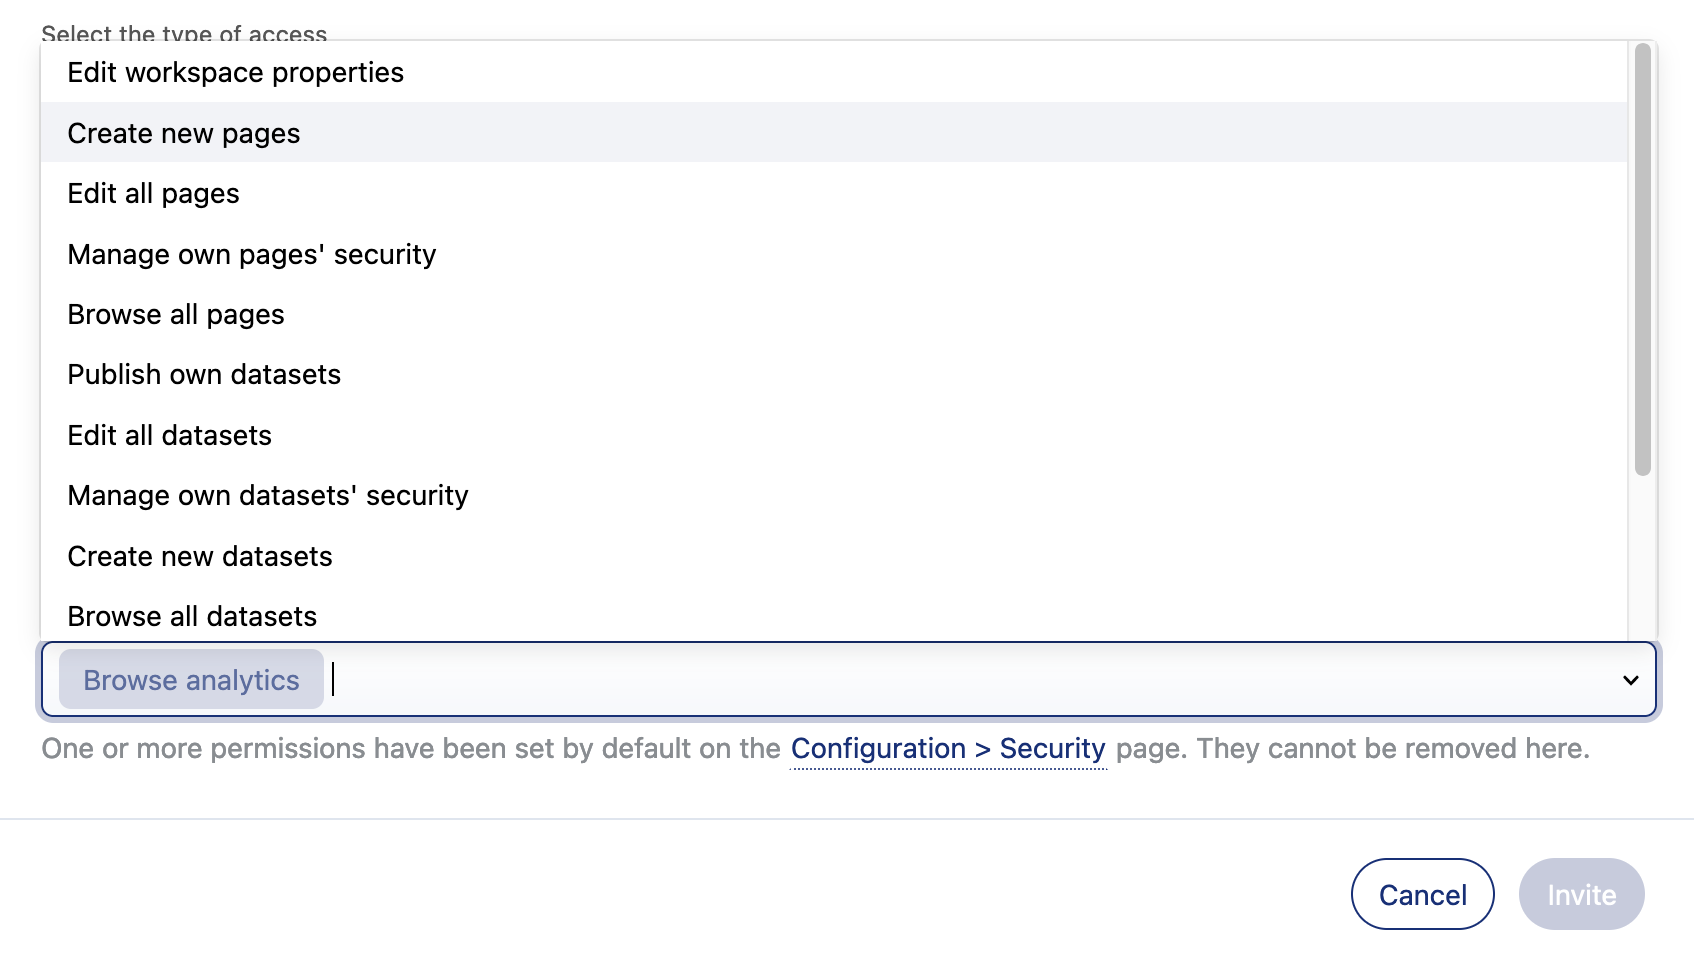
In your back office, under Access > Security, you can set default permissions for all new users. As the name suggests, once you have selected permissions here, when you invite a new user those permissions will be selected.
Note that to remove a permission added this way, you must remove the default permission; you cannot remove a default permission on a case-by-case basis.
In the example below, the permission "Browse analytics" has been added as a default. In a new invitation, it is automatically selected. You can add any further permission you like, but to remove "Browse analytics" you must return to the "New users' default permissions' section and remove it there before making the invitation.