Adding images and fonts
You can upload images and fonts to a workspace for them to be usable throughout that same workspace (for example, in the workspace's stylesheet, in content pages, etc.). Either images or font files can be added to the workspace.
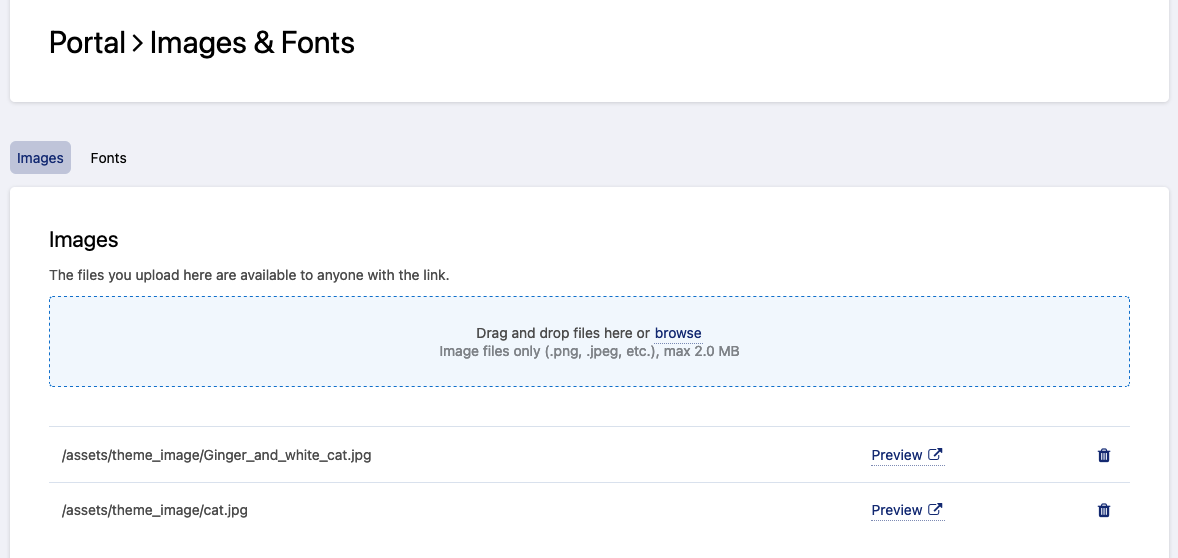
This feature is available in the Portal > Images & Fonts section of your back office.
Metadata is not stripped from uploaded files. The tags may expose sensitive information, such as geolocation data or device information.Before uploading files, make sure you strip metadata you want to keep private.
Adding an image as an asset
All image files formats are accepted as assets: .gif, .png, .jpeg, .jpg, .tiff, .bmp and .svg.
Added files must not exceed 2.0 MB. For larger files, an external file-hosting service should be used.
Go to the Portal > Images & Fonts section of the back office.
Make sure the Images tab (default) is selected.
Either drag and drop the image file in the corresponding area or click on "browse" to select the image file using a file picker.
Adding a font as an asset
The following font files formats are accepted as assets:
.ttf
.woff
.otf
Added files must not exceed 700.0 KB. For larger files, an external file-hosting service should be used.
Go to the Portal > Images & Fonts section of the back office.
Click on the Fonts tab.
Either drag and drop the font file in the corresponding area or click on "browse" to select the font file using a file picker.
Once you have imported your font in the Back office, you should modify the CSS code in Portal > Style. You will need to declare your font and then indicate where to make the font modifications in the code.
You will find more data at this link.

