Managing page access

Edited

Pages created with Studio can be public or private:

  • A public page is accessible by anyone with an access to the portal.

  • A private page is restricted to specifically defined users and groups. By default, a page is private.

You can also manage more than one user or group at a time, for more information see Bulk edit users, groups, and rights.

While performing the following procedures, the access policy and rights you are configuring are instantly applied to users and groups. This means you cannot cancel the configuration while editing, you need to explicitly add or remove users, groups, and rights.

Setting an access policy

Studio lets you set a page-level access policy.

  1. From the left side pane, click Edit in the Page access section.

  2. Set the access policy:

    • Click Public to let any user access the page, as long as they have access to the portal.

    • Click Private to restrict access to the page to specifically defined users and groups.

  3. Click Finish to save the access policy.

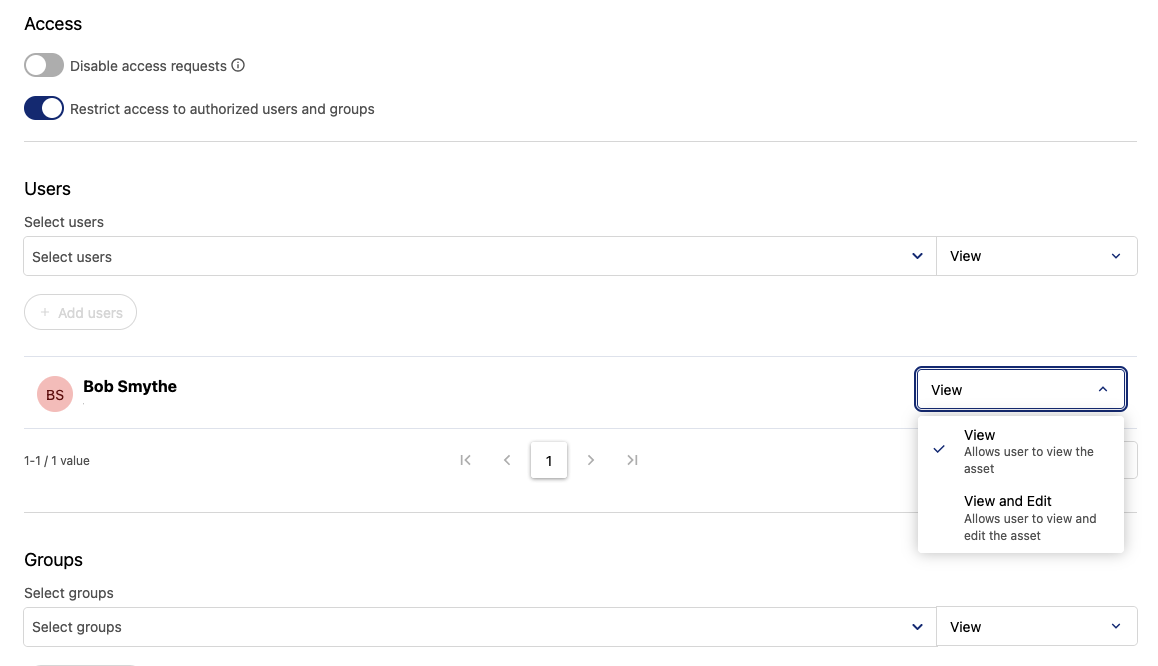
Adding users and groups to a page

If you set the access policy to Public, the users and groups added to a page are granted, by default, editing rights for this page.

If you set the access policy to Private, the users and groups added to a page are granted, by default, page access only for this page.

Users and groups must already exist in the back office, within the Users & Groups section, where users are invited to the portal and where groups are created.

  1. From the left side pane, click Edit in the Page access section.

  2. Click + in the Users or the Group section.

  3. Perform one of the following actions:

    • Select a user or a group from the list.

    • Select the All checkbox to select all users or groups.

  4. Click Finish.

Removing users and groups from a page

After you added a user or a group to a page, you can remove them.

A user cannot remove themselves from a page.

  1. From the left side pane, click Edit in the Page access section.

  2. Hover over the user or group to be removed.

  3. Click the bin icon.

  4. Click Finish.

After removing a user or a group from a private page, they will not be able to access the page anymore.

After removing a user or a group from a public page, they will not be able to edit the page anymore.

Granting users and groups editing rights

All the users and groups added to a private page are granted page access only for this page by default. You can grant them editing rights.

If you added a user or a group to a public page, they are granted editing rights for this page. So, you do not need to perform the following steps.

  1. From the left side pane, click Edit in the Page access section.

  2. Hover over the desired user or group.

  3. Click the icon.

  4. Click Finish.

Revoking editing rights from users and groups

After granting users and groups editing rights, you can revoke those rights.

A user cannot revoke their own rights.

  1. From the left side pane, click Edit in the Page access section.

  2. Hover over the desired user or group.

  3. Click the icon.

  4. Click Finish.

Bulk edit users, groups, and rights

Through the Studio interface, you can edit more than one user and group at a time, and their rights.

  1. From the left side pane, click Edit in the Page access section.

  2. Select the Users or Groups checkbox at the top of the list of users or groups.

  1. Click one of the following icons to bulk edit users or groups:

    • The second one lets you grant editing rights to all users or groups.

    • The third one lets you revoke editing rights from all users or groups.

    • The trash button lets you remove all users or groups from your page.

  2. Click Finish.