
Amazon S3 connector
You need an AWS account to use the Amazon S3 connector.
The Amazon S3 connector retrieves content from a file stored in an AWS S3 bucket.
There are two ways to authenticate and authorize such a request on the Opendatasoft platform: IAM role and AWS signature v4. If the latter is easier to set up, we recommend the former as it allows you to set up fine-grained access to the resources on your AWS account.
IAM role authentication
Create the connection
In your back office, click Catalog > Connections and click the Add connection button.
Select the Amazon S3 connection type and choose the IAM role authentication method.
Choose the region of the bucket you want to access and click on Validate.
Notice that the connection is created but is not valid. This is because the connection is not yet authorized to assume a role on your AWS account.
We will fix this by creating a role on your AWS account and update the connection with the ARN (Amazon Resource Name) that is the identifier of this role.
Create the role in your AWS account using the AWS console
Go to the AWS account that is responsible for the bucket hosting the file you want to upload on the platform.
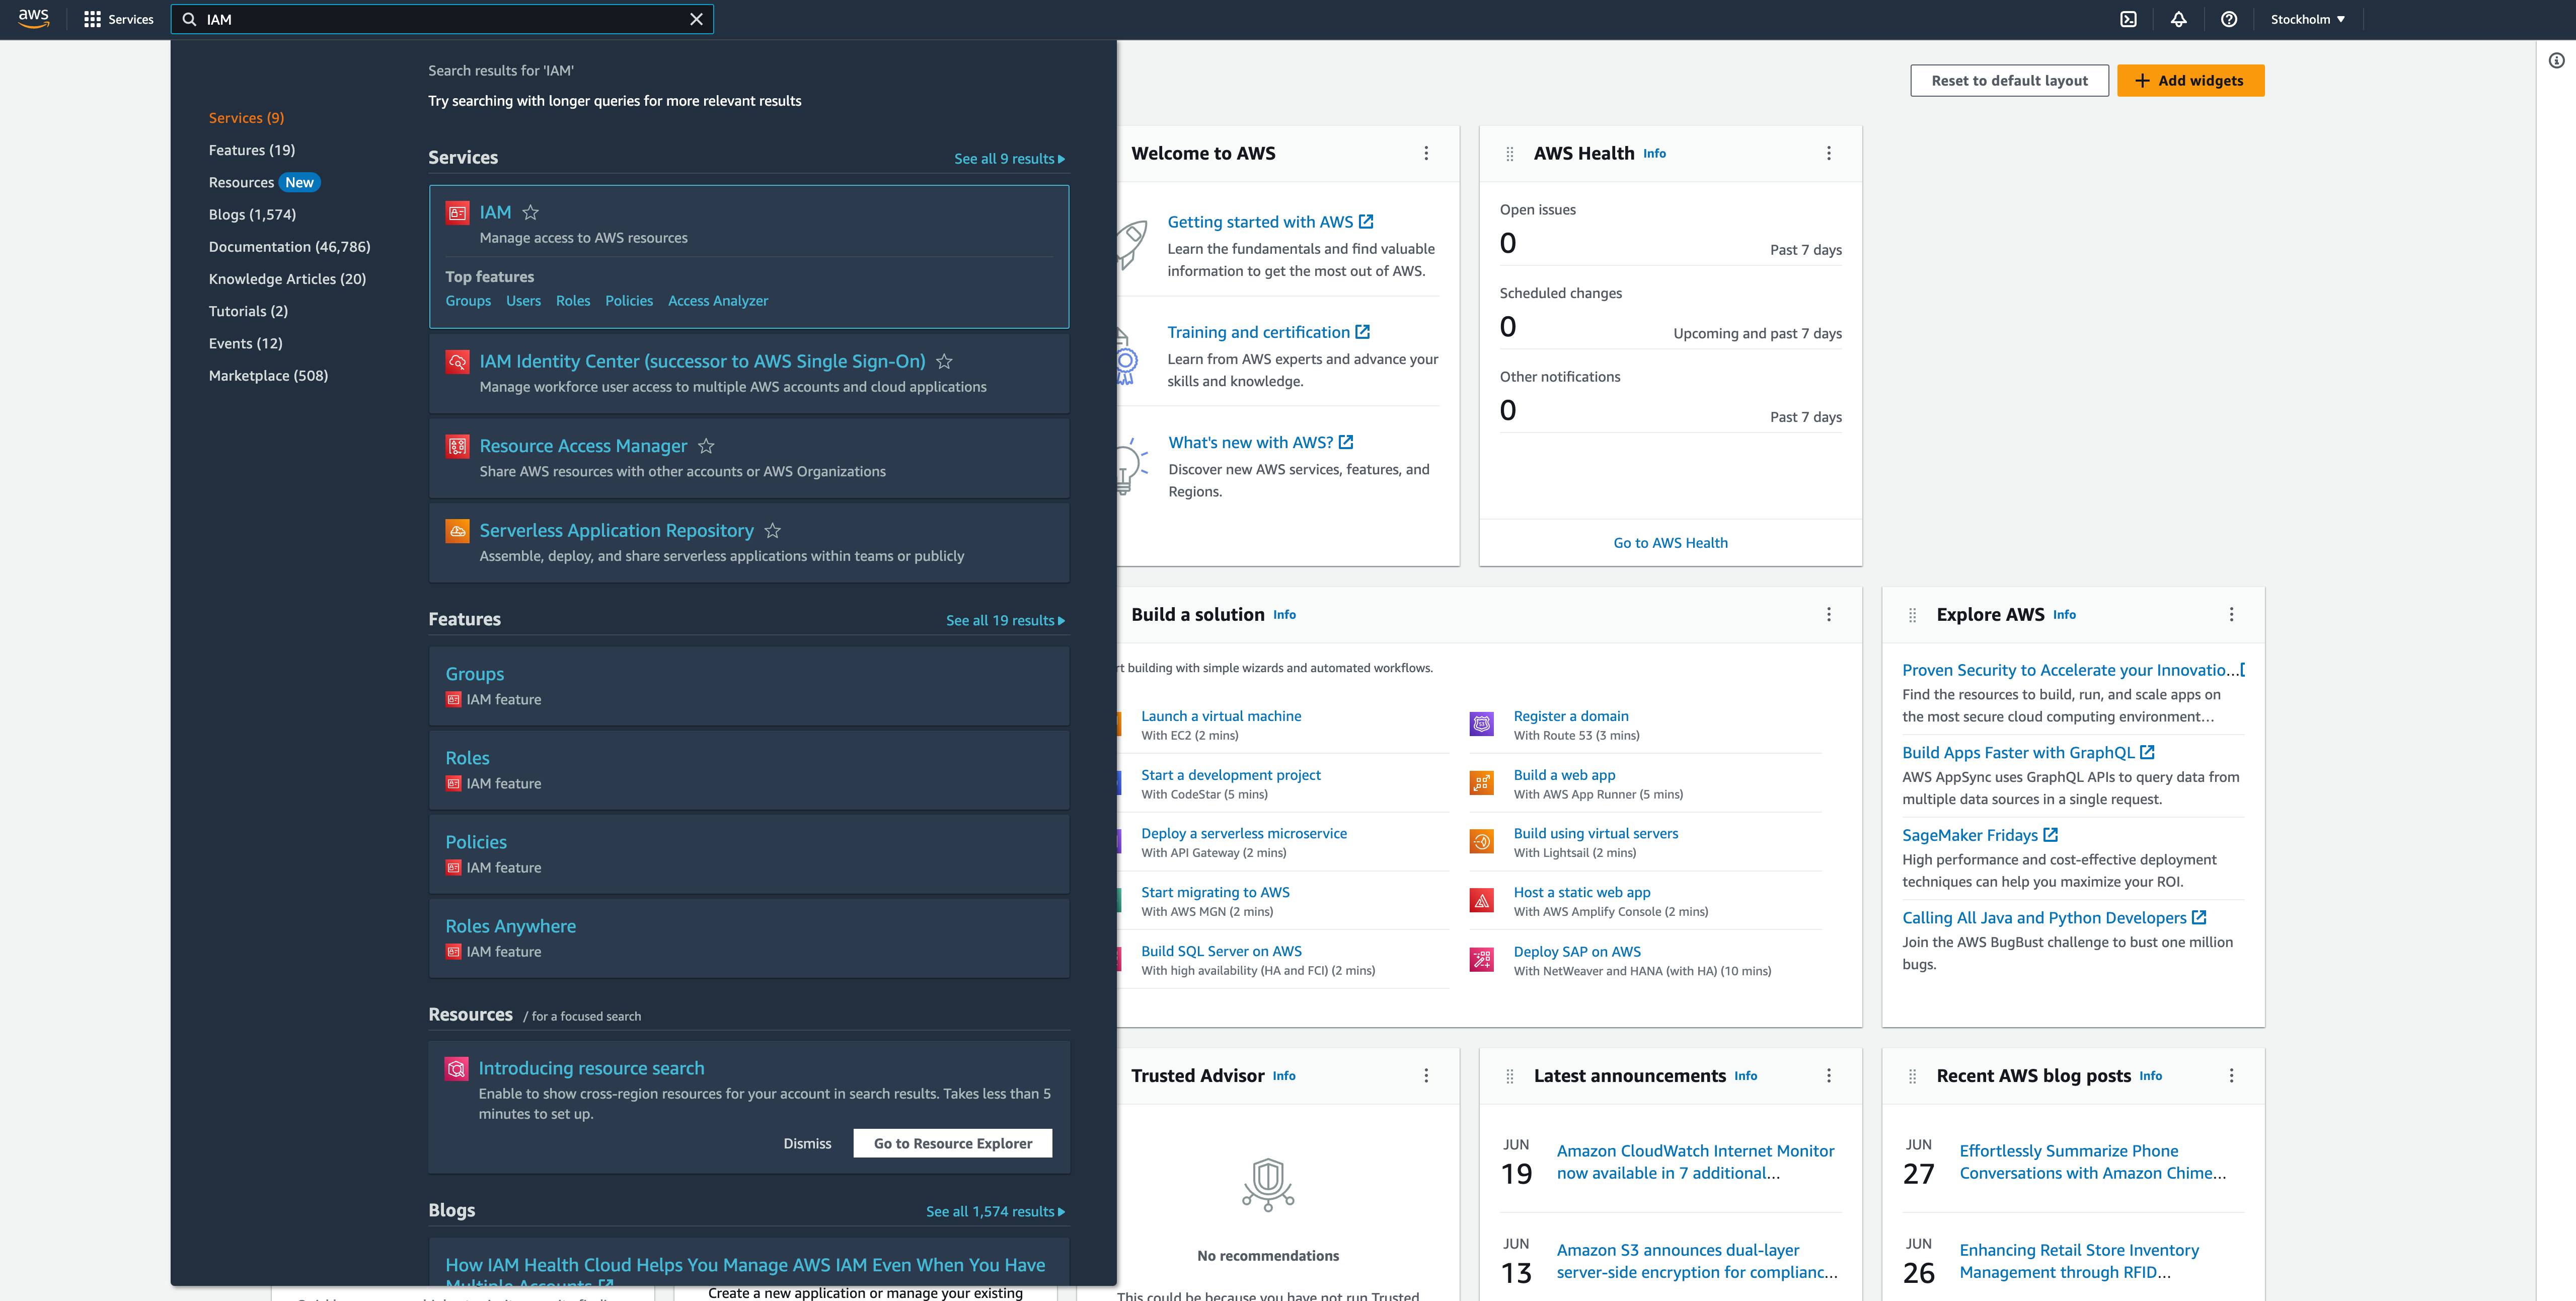
Go to services -> IAM or search for “IAM” in the search bar.
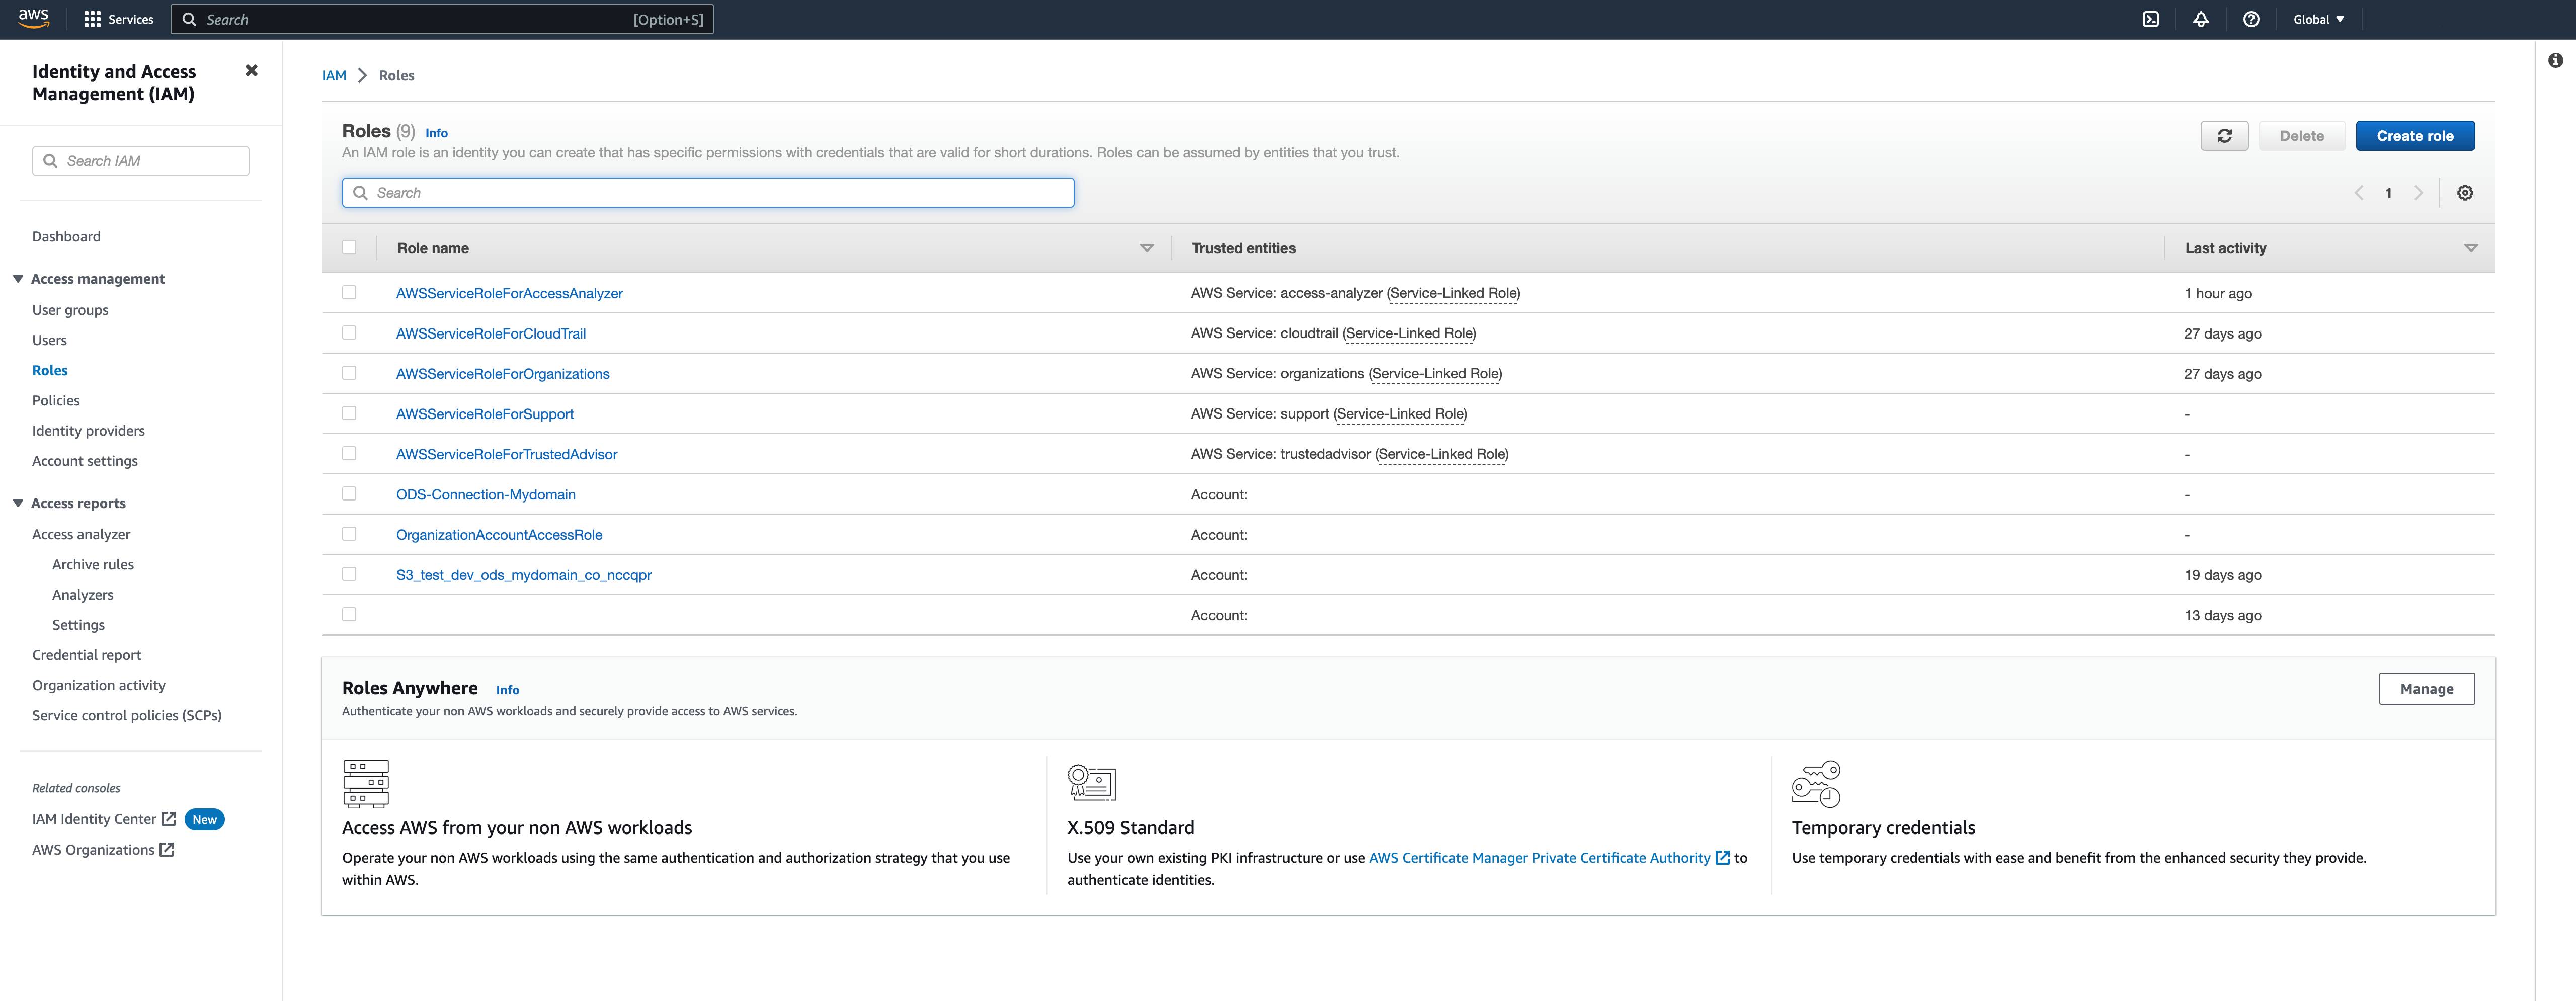
In the left navigation menu, go to Roles and click on the Create Role button in the upper right corner.
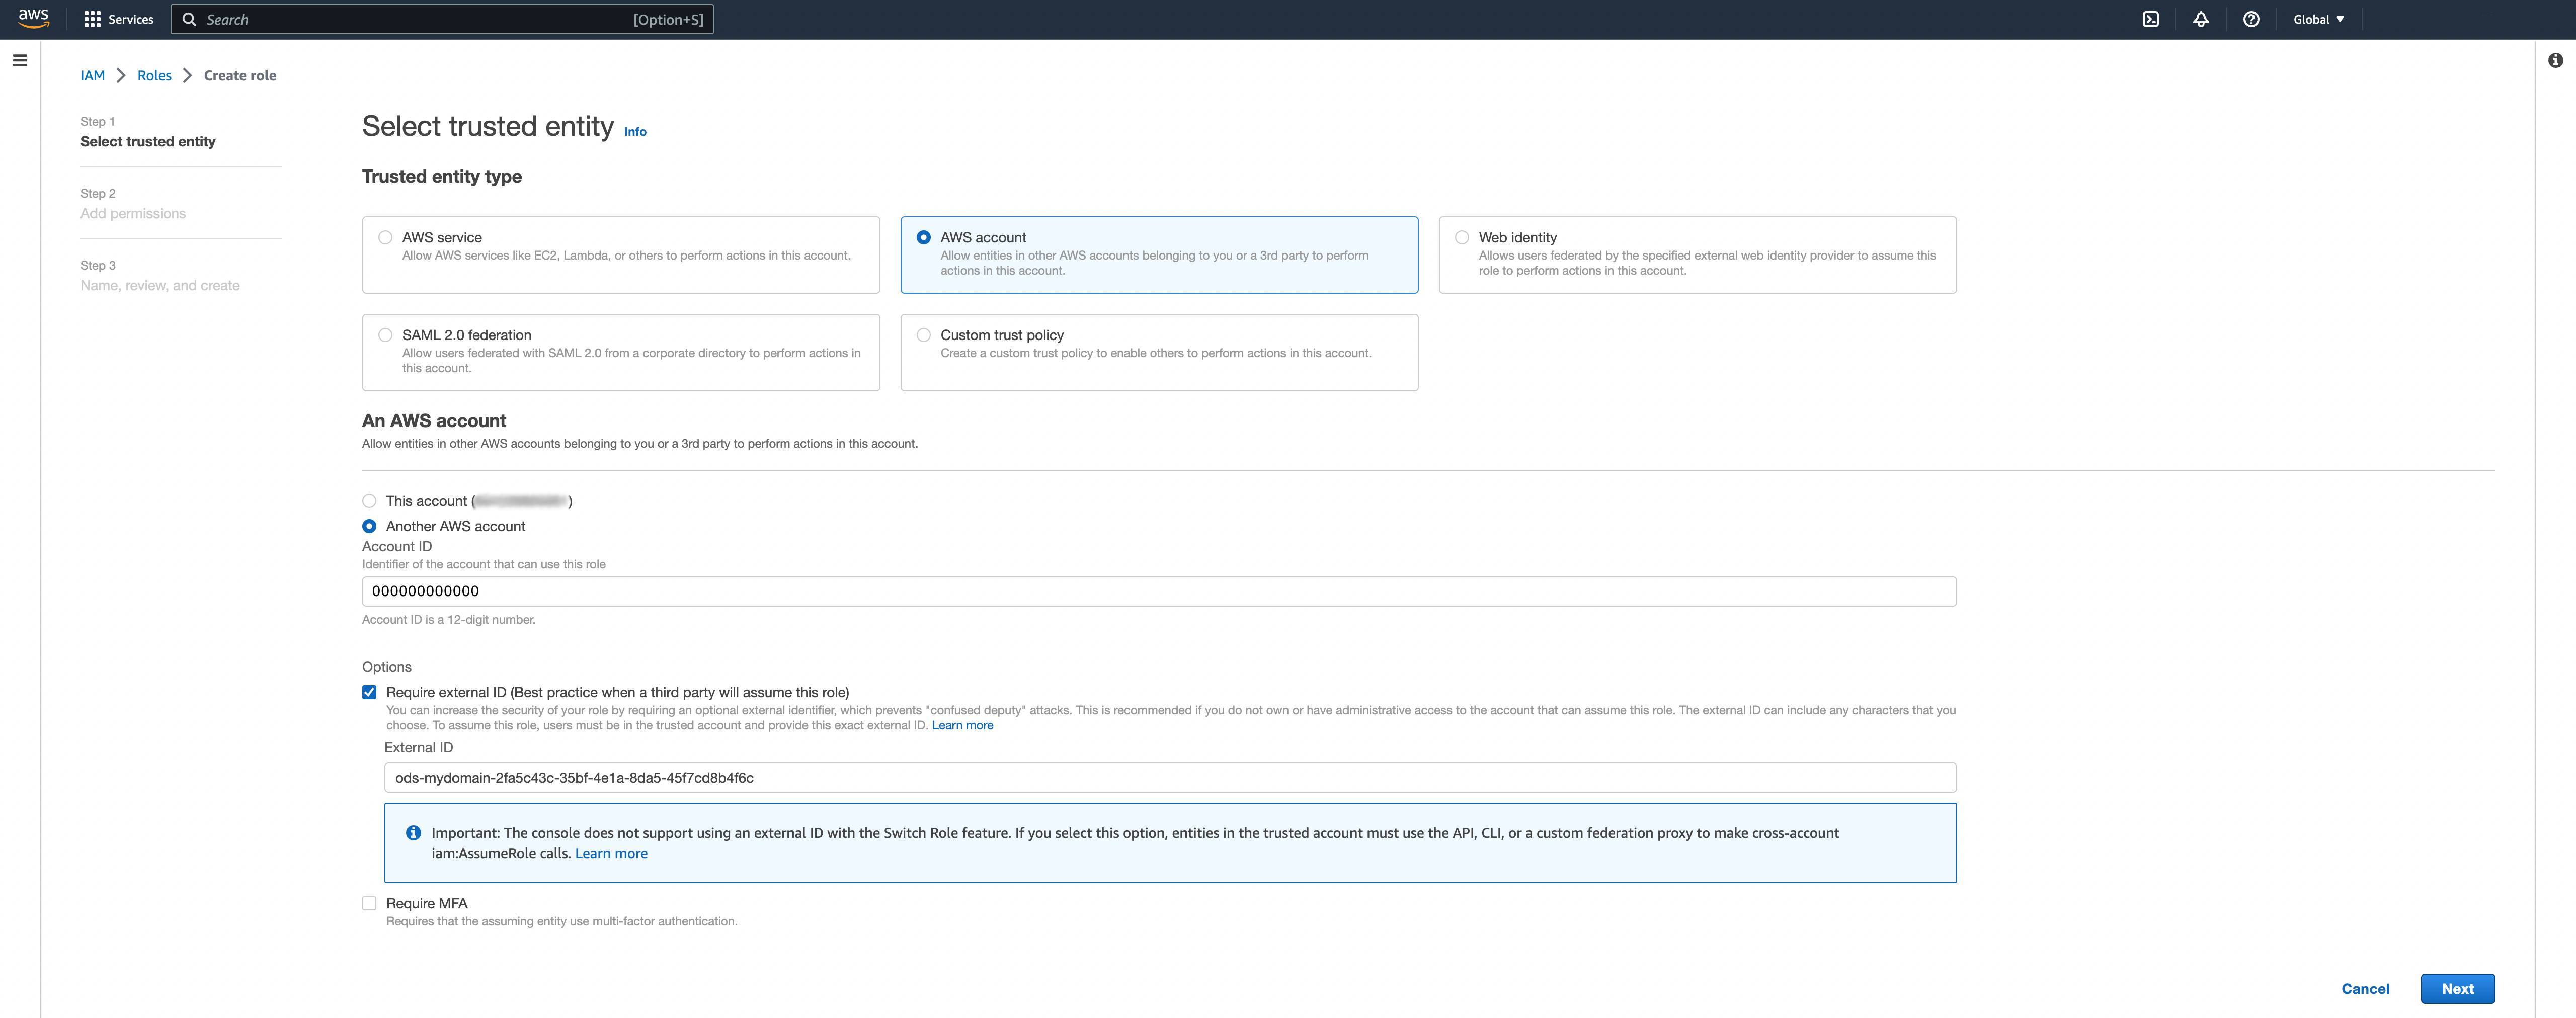
We will now create the role that will authorize the Opendatasoft’s external AWS account of your connection to access your bucket.
As in the following, select the “AWS Account” trusted entity. Then select “another AWS account” and fill the “Account ID” field with the "ods_aws_account_id" returned in the newly created connection.
In the Option, click on Require external ID and copy paste the "external_id" of the connection in the field.
Click Next.
This will generate a trusted identity object like the following that allows external account with account number 000000000000 to assume the role using the external ID ods-mvdomain-2fa5c43c-35bf-4e1a-8da5-45f7cd8b4f6c.
{
    "Version": "2012-10-17",
    "Statement": [
        {
            "Effect": "Allow",
            "Principal": {
                "AWS": "arn:aws:iam::000000000000:root"
            },
            "Action": "sts:AssumeRole",
            "Condition": {
                "StringEquals": {
                    "sts:ExternalId": "ods-mvdomain-2fa5c43c-35bf-4e1a-8da5-45f7cd8b4f6c"
                }
            }
        }
    ]
}
Now you can associate any permission you want on that role. However, we advise you to give the minimum permission to access the files on your bucket.
To do so, you can create a custom policy to implement a fine grained permission. For example, the following policy only give access to the file test.csv in the mybucket S3 bucket.
{
    "Version": "2012-10-17",
    "Statement": [
        {
            "Effect": "Allow",
            "Action": ["s3:GetObject"],
            "Resource": "arn:aws:s3:::mybucket/test.csv"
        }
    ]
}
You will find several examples of policies in the AWS documentation: User and role policy examples - Amazon Simple Storage Service.
Then click Next.
Give a title to your role. You can also provide a description and tags.
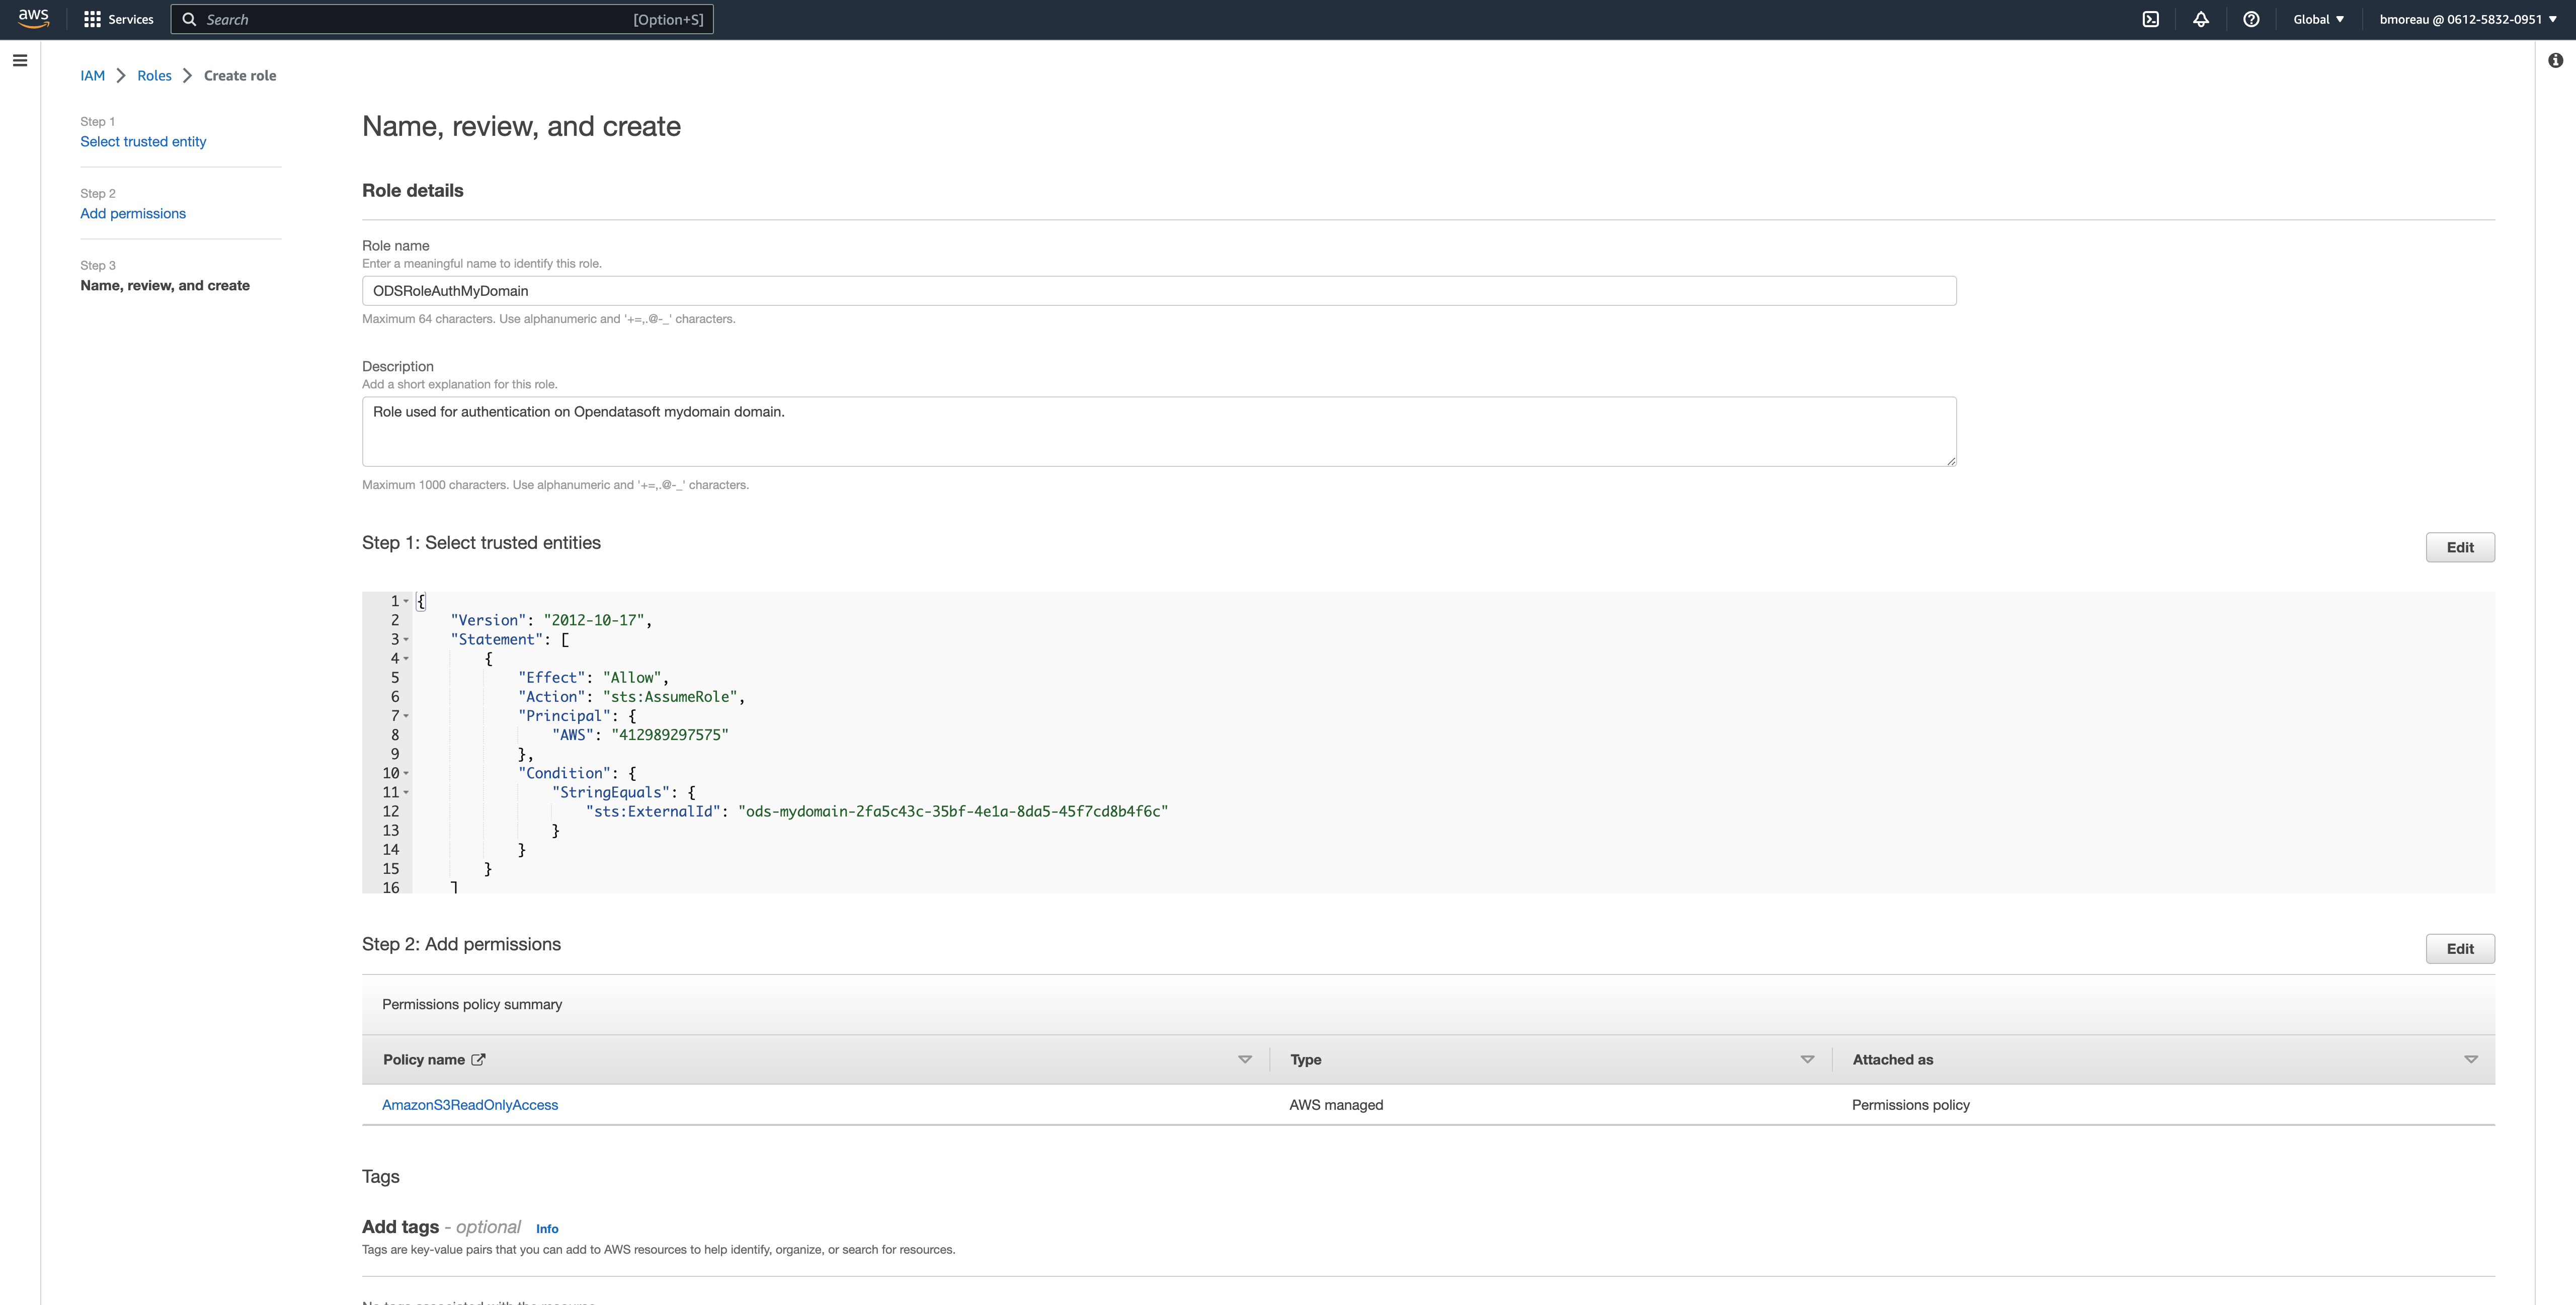
Click on Create role in the bottom-right corner.
You should be redirected to the list of roles.
Update the connection with the role ARN
In the list of roles in your AWS console (i.e., IAM service and Role in the left navigation menu), click on your newly created role.
You will find the the role's ARN in the center of the screen. It should contain your AWS account number and the name of your role (e.g., arn:aws:iam::061258320951:role/ODSRoleAuthMyDomain).
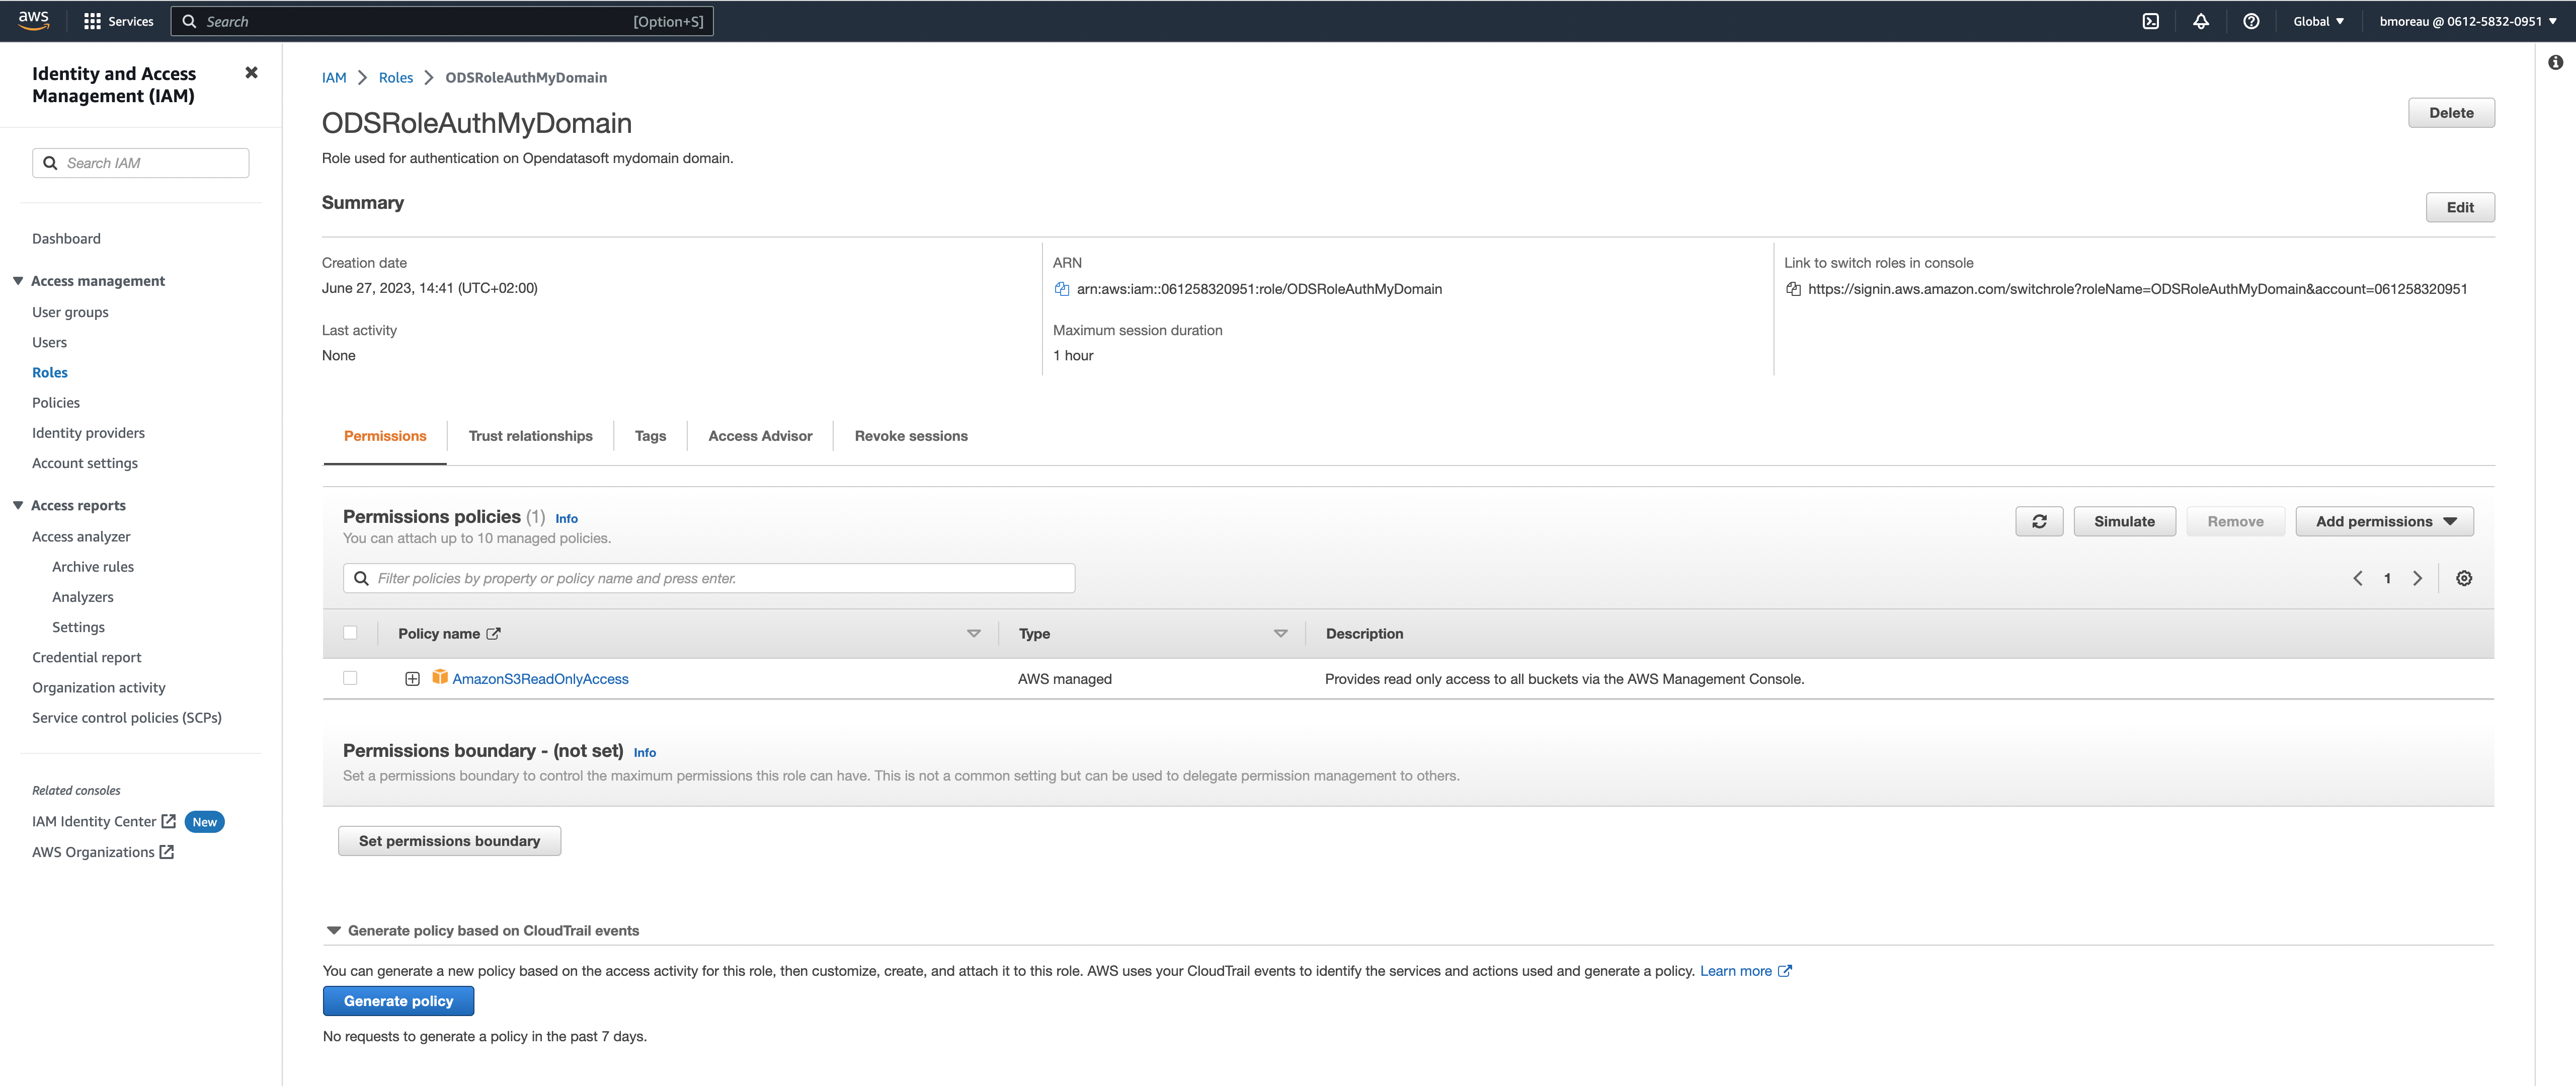
Copy the ARN of your role, update your invalid Amazon S3 connection that you created previously with this ARN and validate.
The platform will check that the connection is valid by querying your AWS account.
If the API returns the following error ODS AWS account is not authorized to assume the role identified by role_arn , check that the role ARN is the correct one that the role is well configured.
The connection should now be valid and ready to use.
AWS signature v4 authentication
Note that while this option is still available, it is not recommended by AWS.
Choose an option:
If you want to create a dataset, click Catalog > Datasets and click the New dataset button.
If you want to add a source to an existing dataset, click Catalog > Datasets and select the desired dataset. Then, click Add a source.
In the wizard that opens, select "Amazon S3" under the "Configure a remote service" section.
Select an existing Amazon S3 connection or create a new connection.
If you want to create a new connection, fill the following information:
URL
Region
Access key
Secret access key
Headers (optional)
In the preview screen displaying the first 20 records of the file, set the source configuration.
Configure the dataset information or use the prefilled values:
In the Dataset name field, enter the title for this dataset.
In the Dataset technical identifier field, enter a meaningful identifier for this dataset.
Note: To configure an OVH S3 datasource, use the virtual-hosted-style and the file name you want to access.
Example:
Virtual-hosted-style:
https://waterbucket.s3.bhs.io.cloud.ovh.net/File name:
fruits.csv
URL to provide to Opendatasoft: https://waterbucket.s3.bhs.io.cloud.ovh.net/fruits.csv