
Creating a page with the Code editor
The Opendatasoft platform allows the creation of content pages entirely built with HTML and CSS. These content pages can be used for various types of usage: portal homepages, dashboards that mix editorial content and data visualizations based on the datasets published on the portal, pages dedicated to specific topics (explanation about the open data project of the portal, the license, etc.).
To create a new content page:
Click to unfold the "Page editor" section of the back office. Go to the Code editor menu.
The menu possesses two tabs :
Published contains all the pages currently online.
Archived contains the pages that were once published and are now deactivated. You can get all the details about archiving pages here.
Click on the Create page button.
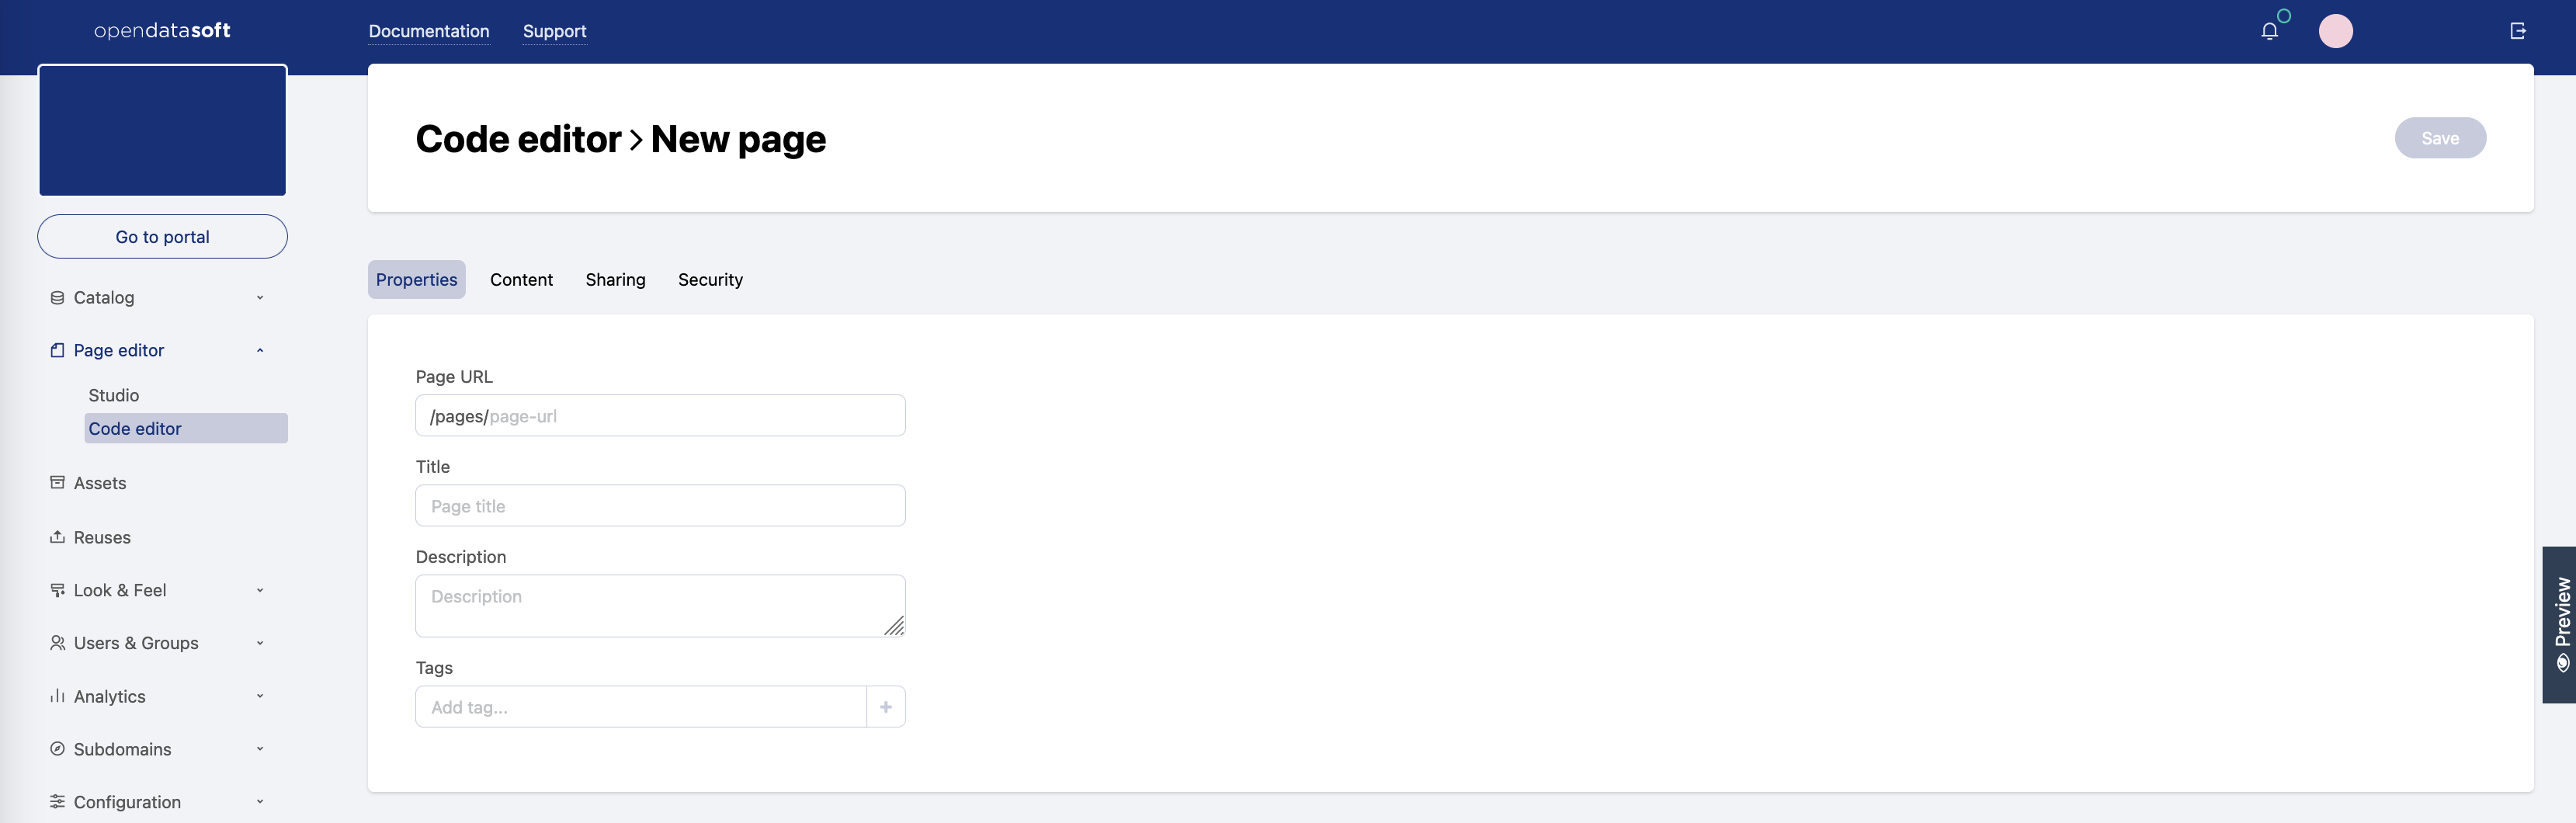
In the Properties tab, fill in the following properties:
Page URL (mandatory): Write the page slug, which is both the unique identifier of the page and the last part of the URL to access the page. This property is mandatory; the page cannot be fully created nor saved if it does not have a defined page slug.
Title: Choose a title for the page, which will be displayed as the browser tab title and in the list of content pages. The title can be configured in more than one language, depending on how many languages are available for the portal.
Description: Write a description for the page. This can be used as an internal note and will not be displayed elsewhere than in you back-office.
Tags: Enter one or more tags related to the page, which will be displayed in the list of content pages in the "Tags" column.
Click on the Save button.
Writing a content page
In the page header, next to the title of the page, are displayed language buttons—one for each language available in the domain. They allow multilingual content management. In case a content page has not been translated for a chosen language, when navigating from the portal, the page will remain blank for that chosen language.
The content of the page is written and managed from the Content tab.

The Content tab is composed of two main elements.
The drop-down template selector: By default, the selected template is the "Custom" one, which allows the creation of a content page from scratch. Other templates are available: they are predefined content pages made for various purposes (homepages, contact pages, etc.), that should be edited only to adapt the portal.
The HTML and CSS editor: This is where the HTML content and CSS code should be written that describes the presentation of that HTML content.
Theme colors, defined in the Look & feel section of the back office, can be used in the page stylesheet as CSS variables. For more information, see the Customizing theme and portal icon documentation. The final result will not be displayed in the page preview when using Internet Explorer.
On the right of the Content tab is also displayed a Preview button. It opens a preview of the page as the users would see it on the portal, without having to save the page first.
Using page templates
To choose a page template, click on the "Template" drop-down selector and choose a template from the selection.
If you wish to reset the template, that is, to erase the custom modifications and go back to its original state, click on the Reset template button.
Although content pages can be shared using their URL, they can also be made available to the portal users via the navigation bar or even set as the portal's main landing page (homepage). These configurations are set in the Look & feel > Navigation section of the back office (see Configuring the navigation menu).