
Adding a points of interest map block in Studio
Studio makes it easy to create choropleth maps and points of interest maps.
Points of interest maps highlight specific locations on a map. They're ideal for displaying the locations of shops, monuments, hotels, or any other place of interest. To create one in Studio, follow the directions below.
Step 1: Select a block
To create a point of interest map in Studio, create or edit a block, select the block type "Map" and "Points of interest" as the map type.
Tip: Instead of using the Next button, you can double click on a card to select it and move on to the next step.
Step 2: Select the map sources
Select a basemap from those configured in the back office. To edit available basemaps, see Configuring data visualizations.
Select the desired dataset. A preview of the first 20 records opens in the preview pane. Once the dataset is selected, the field to display the geopoints is automatically selected. You can change the selected field if the dataset contains too many geopoint fields.
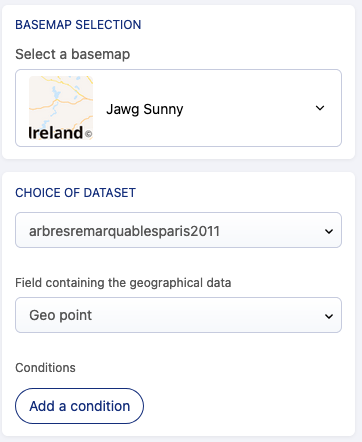
Note that the map automatically adjusts its bounding box so that all points are visible.
During this step, don't forget that you can refine the visible data on the map (See Refining data).
Step 3: Customize location markers
You can customize the color and shape of the location markers in the map, as well as the label.
Decide if you want to divide the markers according to different values.
Select the relevant field in the dataset
Pick up to 20 values
Finally choose the color, icon, and label you want for each marker.

Step 4: Configure the popup
Select the type of popup : Tooltip (above the marker) or Sidebar panel (top left of the map).
Pick the layout of information you want to display.
Then select the fields that should be used to fill this layout.
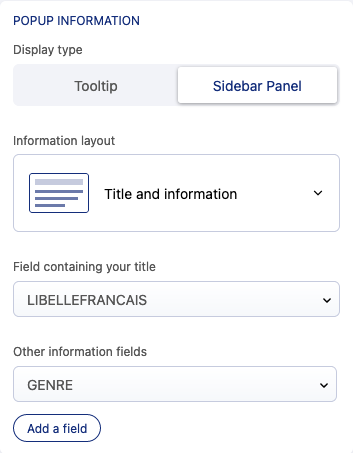
The popup is showed when a feature is being clicked.
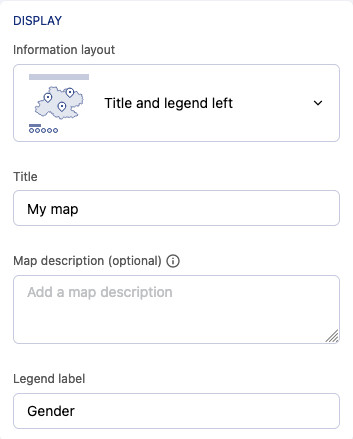
Step 5: Set the map style
Change the layout by clicking on Information layout and selecting a different one.
Fill required fields to complete the block configuration.
Step 6: Save the map
Verify your configuration and click Save. Your map will be visible in the preview pane.
Tips
Styling location markers based on fields with more than one value
We do not recommend using fields with more than one value to style your location makers. By default, Studio automatically uses the first value from a multi-value field to style the marker.
However, this not may be what you need. For example, imagine that you've defined the style for two location marker values: "fruits" and "vegetables." A point of interest with more than one value, such as "fruits, vegetables", will inherit its style from the "fruits" style definition. Conversely, a point of interest with the value "vegetables, fruits" will derive its style from the "vegetables" style maker definition.
So if the default behavior isn't what you need, you can create a new column using processors to extract the relevant value. This approach allows you to have more control over the styling process.