
Regional settings
Your workspace's timezone

Your workspace's timezone determines the hour used for the events reported in notification emails (reports and alerts).
By default, the timezone of all Opendatasoft workspaces is Coordinated Universal Time, or UTC. To change a workspace's timezone, in your back office go to Configuration > Regional Settings. Under "Domain timezone," follow these instructions:
Click on the Timezone drop-down menu.
Select a major city that corresponds to your timezone.
It is also possible to write the name of a city or zone from the list directly inside the textbox. As you write, the matching locations are displayed.
Click on the Save button in the top right corner of the page.
CSV delimiter
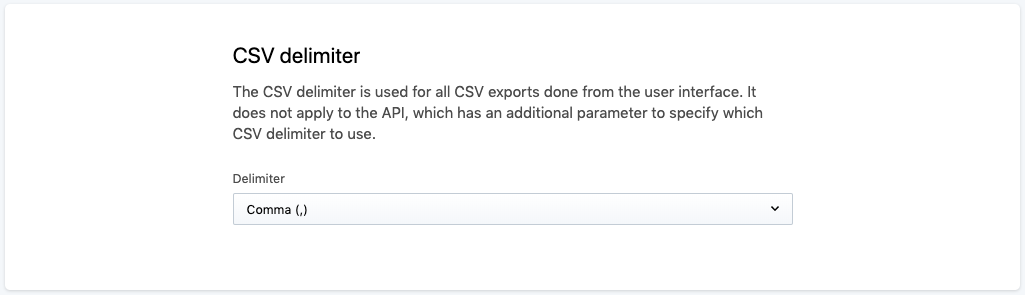
The preferred delimiter for CSV files, usually depending on geographical location, can either be a comma or a semicolon. The CSV delimiter configuration allows to define what delimiter will be used by default for catalog and dataset exports in CSV format (see Exporting data).
This configuration does not apply to the API, which has its own way of choosing the delimiter for CSV exports (see API Search v1 and API Search v2).
To define the default delimiter for CSV exports, go to Configuration > Regional settings. In this subsection of the back office is displayed the CSV delimiter configuration.
Click on the Delimiter drop-down menu.
Choose either "Comma (,)" or "Semicolon (;)".
Click on the Save button in the top right corner of the page.
Datasets default geographic coverage
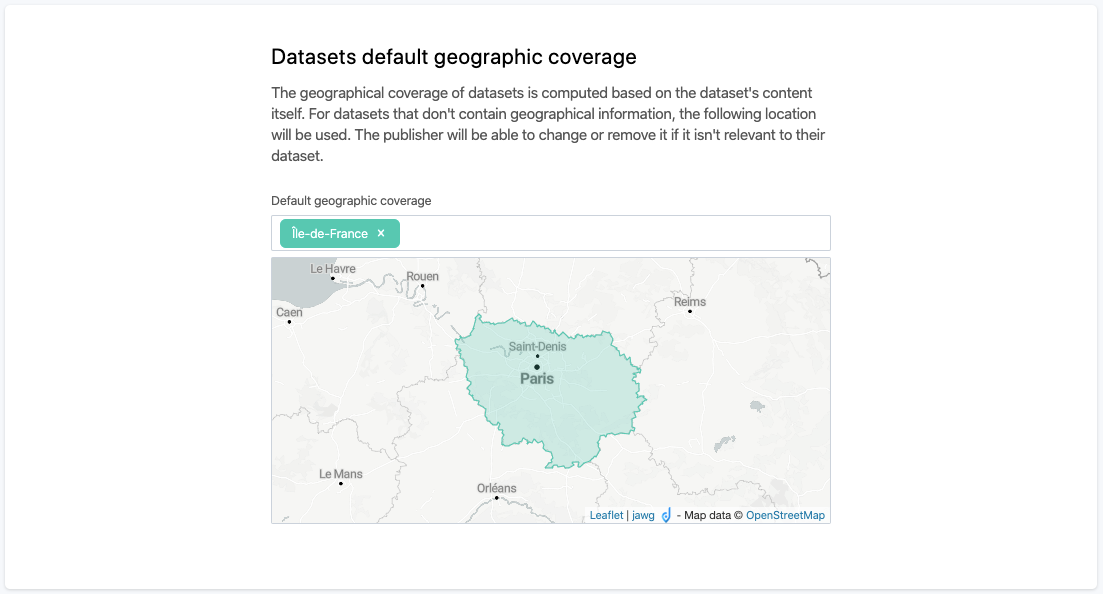
The geographic coverage metadata indicates the location of the data contained in the dataset. Although the metadata can be set individually for each dataset afterward, it is possible to configure the default locations that will be automatically set as geographic coverage metadata for all datasets created afterward.
In the Default geographic coverage textbox, write the name of the chosen location.
A drop-down selection of existing locations matching the name that was previously typed appears. Click on the right location.
(optional) Repeat steps 1 and 2 of this procedure to add other default locations (for example, if the data of the portal involves more than one administrative division).
Click on the Save button in the top right corner of the page.
If more than one default location is added, they must be at the same administrative level (for example, countries, cities, regions, etc.).