
Managing access to your Studio pages
Edited
Like your other assets, you can control who can access your pages.
Under Catalog > Assets, select the Studio page you wish to edit, and go to its Access tab.
There you will see visibility and access options common to most other assets: Visibility, the ability to disable access requests, and access settings for users and groups.
Visibility
You can exclude a given page from appearing in the results when someone searches in your catalog.
Access for users and groups
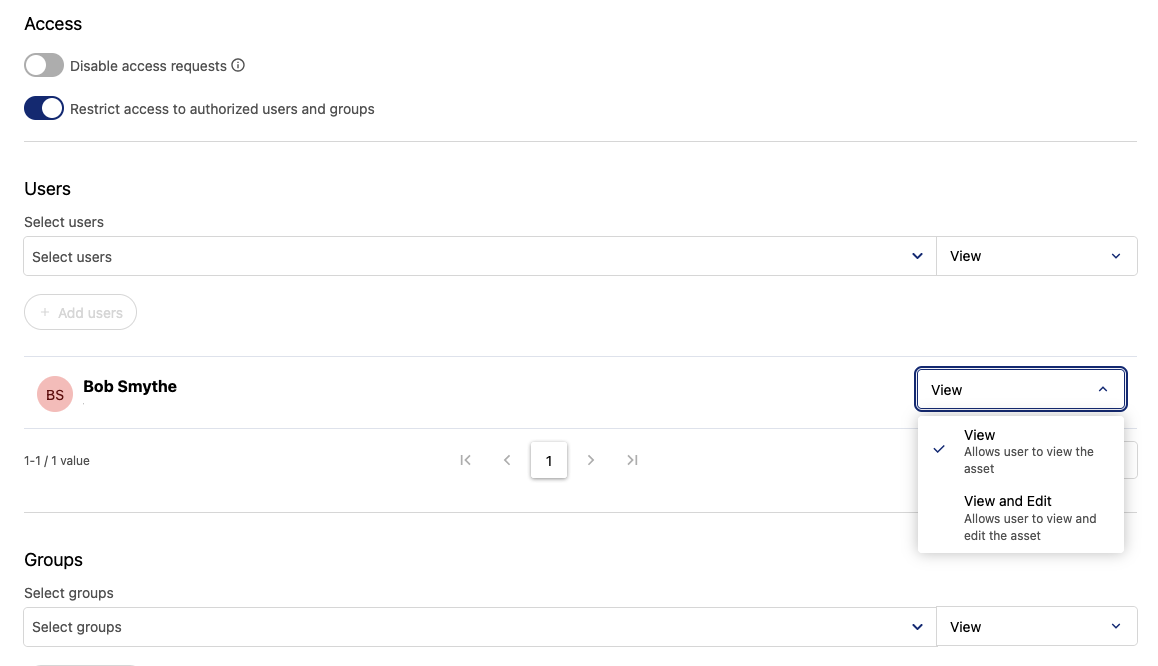
You can toggle here to disable access requests.
You can also restrict access to specific users and groups. Note that when you do so, you can provide them with either view or view and edit rights.