
ODS Forms: Sharing your form and reviewing its results
When editing in the ODS Forms feature, there are four functional sections in tabs across the top of the screen: Build, Access, Share, and Results.
This page describes how to Share your ODS forms and process their Results.
See this page for general information about the feature, as well as the Build and Access tabs.
Sharing your form
The Share tab gives you access to two ways to easily share your form: a URL or a QR code.
Both can be copied or downloaded and shared with those who need them.
Remember, assuming that you've already configured who can have access to your form on the Access tab, you can feel free to publicly share or post the URL or QR code for your form!
Consulting the responses to your form
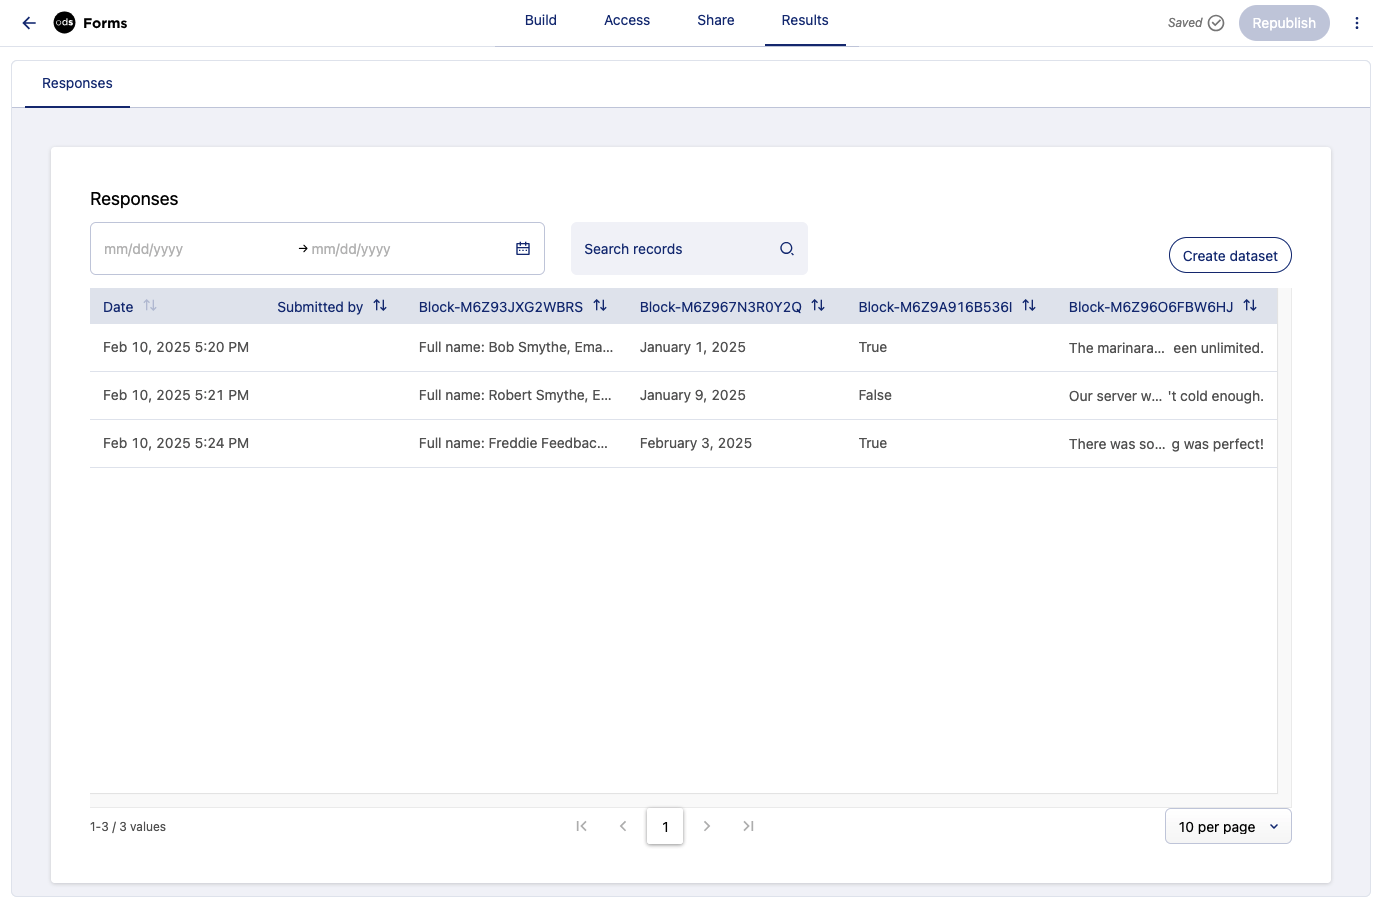
Your form's Results tab shows you the responses to your form. A search bar is available, and you can filter the responses by date.
Note that in the lower-right-hand corner you can choose to display the responses in groups of 10, 25, or 100.
For multilingual forms, remember that responses to closed-end questions, such as true or false questions, will be shown in the default language you've chosen for the form. Open-ended questions will be shown as written.
Moderating the responses
This information applies only if moderation has been enabled on your form.
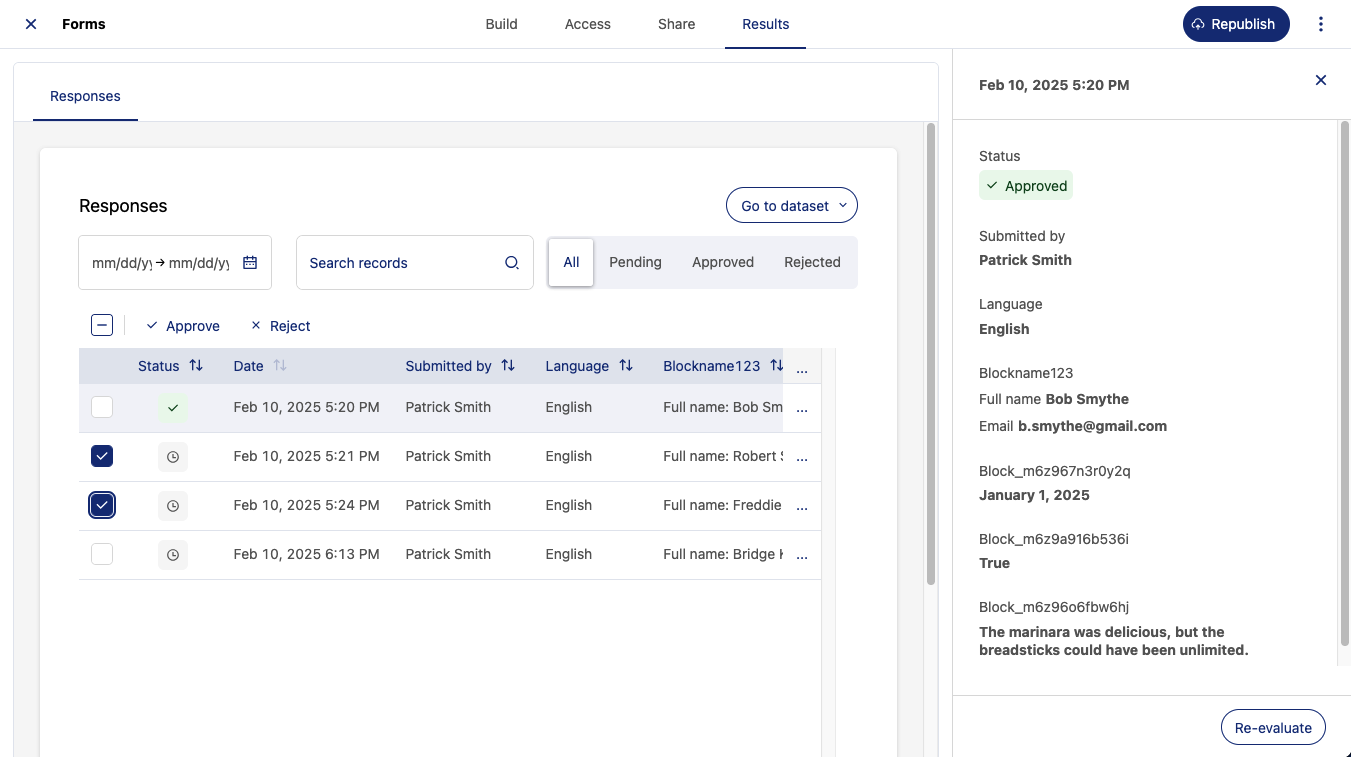
New submissions to your form show a small clock icon under "Status" indicating that their status is "Pending."
Approving or rejecting submissions
Moderators can approve or reject each submission individually by clicking on the submission and clicking the Approve or Reject buttons in the window that opens on the right.
You can approve or reject submissions in bulk by either ticking the checkbox above the list to select all, or selecting specific submissions. Then, click the Approve or Reject buttons at the top of the list.
Once you have approved or rejected a submission, the pending icon will change to a green check mark or a red "x."
Re-evaluating submissions
If you make a mistake or change your mind, you can always reevaluate a submission. Click on a submission and click the Re-evaluate button on the far right, or select multiple submissions using the checkboxes and click the Re-evaluate button at the top of the list.
Editing and deleting submissions
To correct typos or rectify any other incorrect or missing information, click the edit icon and make the changes. Changes are automatically saved.
You can also delete entries, should there be duplicates, spam, or test submissions. Do so individually, or else do so in bulk by selecting several and then clicking on the trash icon.
Deleting submissions is permanent. Once a submission is deleted, it is impossible to recover it.
Creating a dataset of the responses
You can create a dataset of the responses to your form by clicking on the Create dataset button in the upper-right.
You can also create a dataset directly from your back office using the ODS Forms submission extractor.
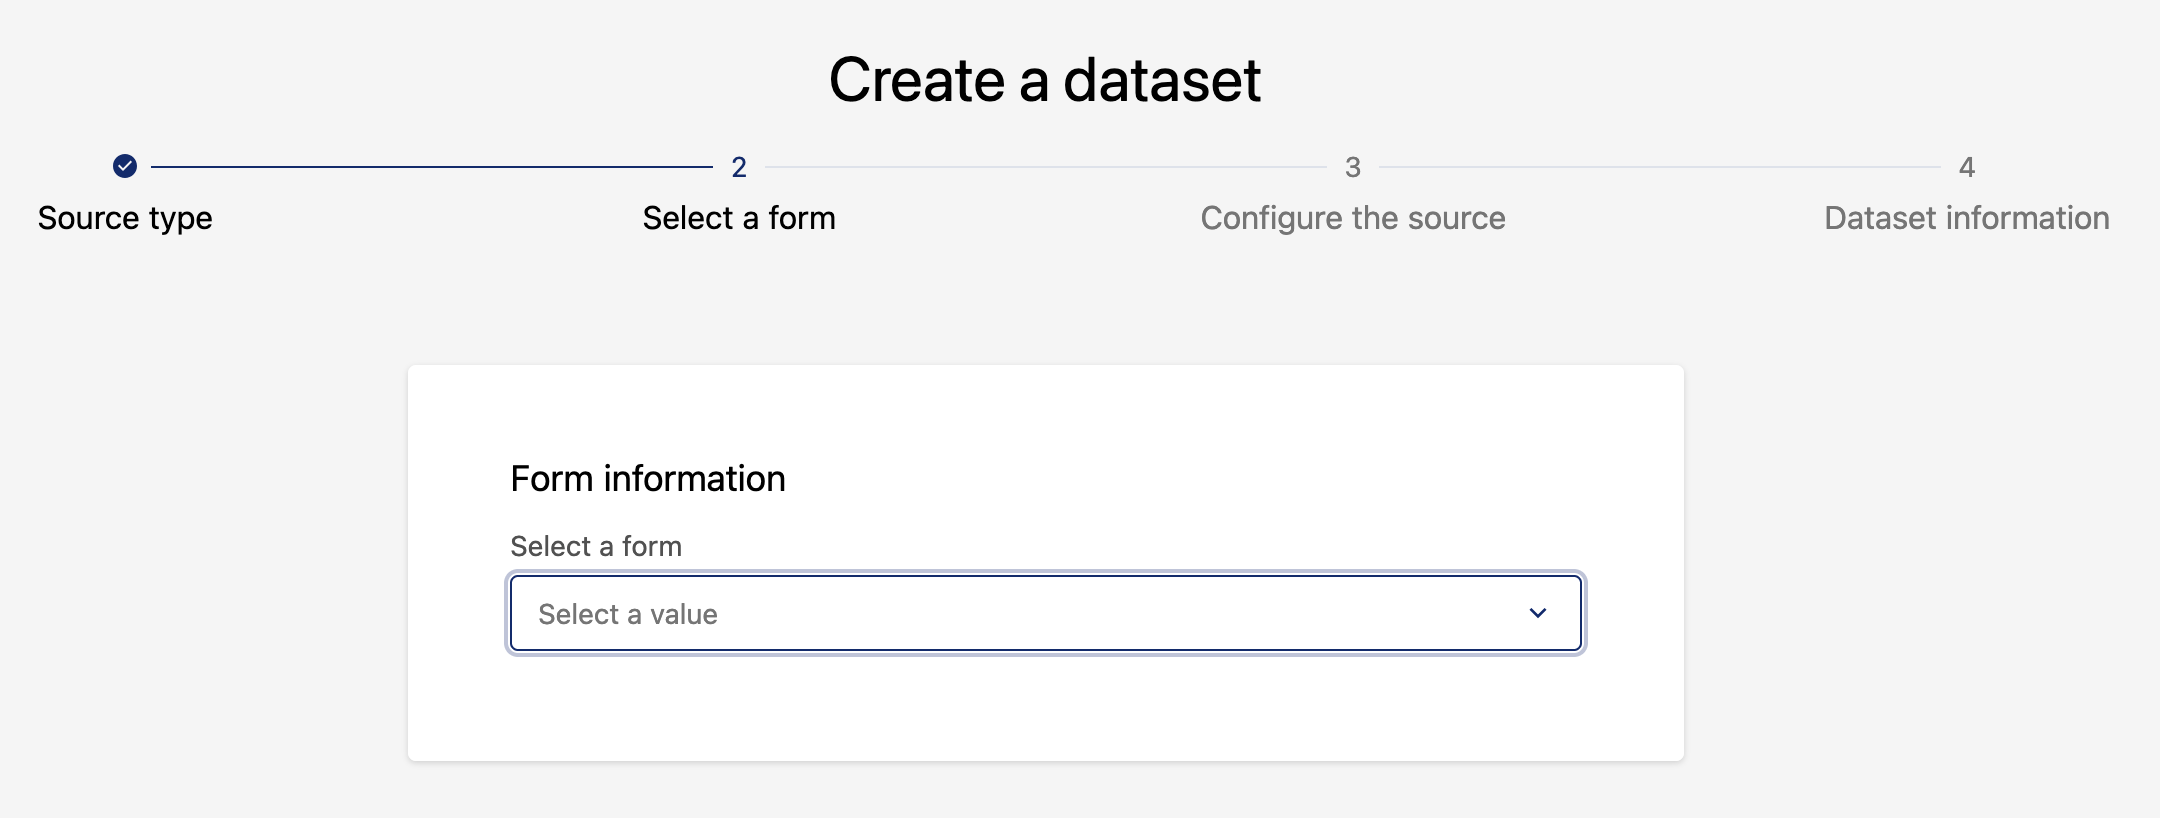
From your Datasets page, click New dataset, select the appropriate form and complete the creation process.
These datasets are then linked to their form. Once a form has been created, the Create dataset button is replaced with a Go to dataset button that allows you to select and display the appropriate dataset.
Note that once you have created datasets from your form data, if you receive additional form results, you are reminded that you should republish your datasets for the updates to be visible in the published data