
Creating and editing metadata templates
You must be an administrator to configure metadata templates.
Opendatasoft provides a set of default metadata, such as the title, description, themes, keywords, language, license, etc. In most cases these suffice. Other optional templates are also available, for example for interoperability purposes (DCAT, INSPIRE, etc.).
But it's also possible to fill out additional, customized metadata templates to be used in your datasets.
Creating a new basic or admin template
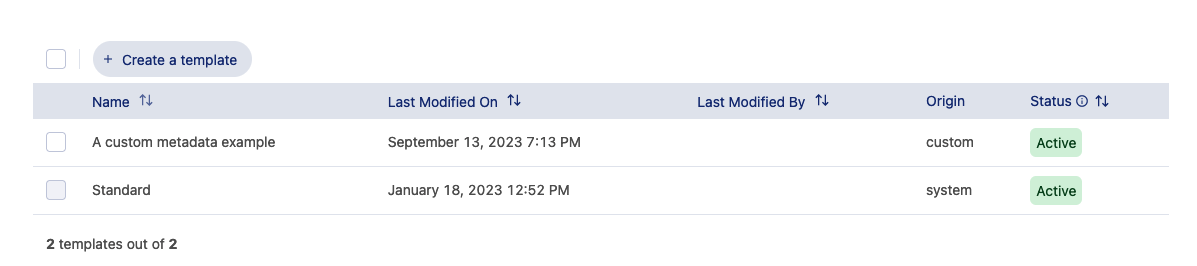
On both the Basic and Admin tabs, you can create a new template by clicking on + Create a template.
Naming the template
The first thing to do is fill out the "Template name" field.
This will automatically fill out the "template identifier," though you can still modify this manually.
The template identifier is the template's unique identifier, and for example is what you use in the API to refer to the field. Note that once you have created the template, you can no longer modify the identifier.
Choosing to activate it
If you wish, you can choose to activate the template as soon as it's created. When a template is activated, it is available to be filled out on your datasets' Information tab. You can always activate or deactivate it later if necessary. See below for more information about deactivating templates.
Creating new metadata fields
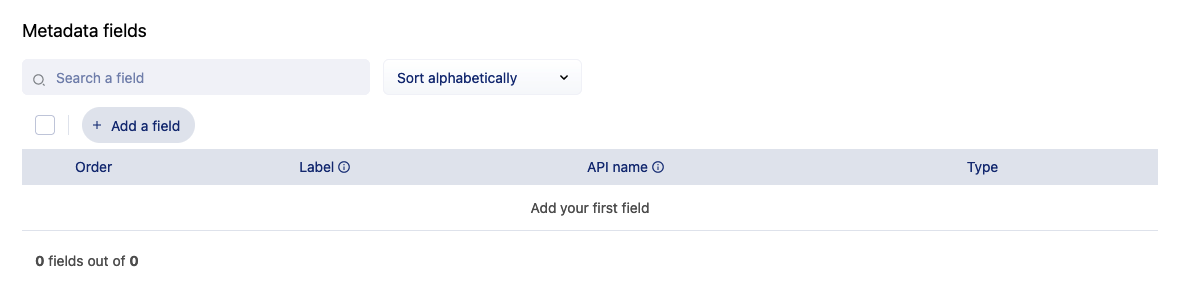
To create a new metadata field, under "Metadata fields," click on + Add a field.
This opens an interface to guide you through the process.
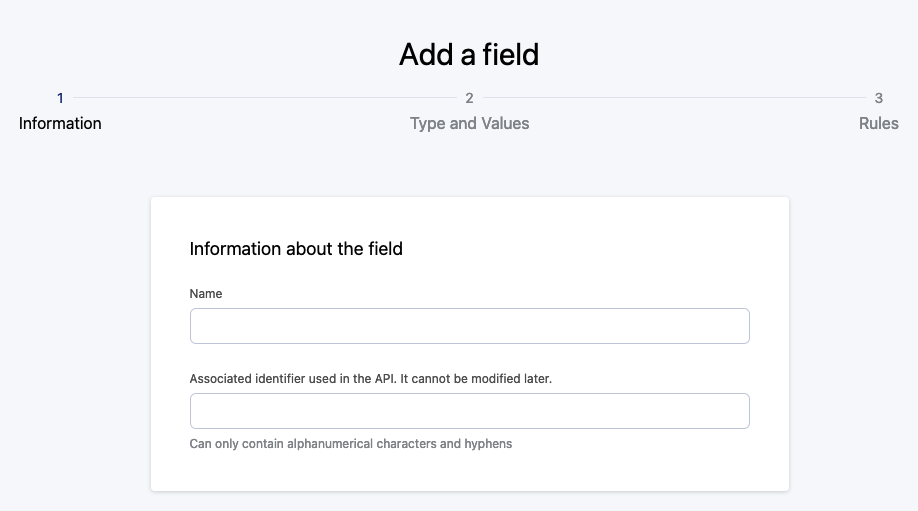
First fill out the "Name" of the field.
Like for the template itself, the identifier is created automatically, but can be modified if necessary. Note however that once you have created the field, the identifier can no longer be modified.
Then click Next.
From the drop-down menu, specify the type of field you wish to create, then click Next.
Note that once you have defined the type, it can no longer be modified.
The table below defines the 11 available field types:
Type
Description
Text
This is a single-entry text meant for short entries. If you think you need more space, use the "Long text" field type.
You can define any number of unique values to be suggested. Alternately, auto-complete will suggest values based on those previously entered for this field by other users. (Both options are not available together.)
Single-Select
One value can be chosen from a provided list.
Multi-Select
More than one value can be chosen from a provided list.
Free List
Allows users to enter any one value.
You can define any number of unique values to be suggested. Alternately, auto-complete will suggest values based on those previously entered for this field by other users. (Both options are not available together.)
Date
Where the contributor will be asked to provide a date.
The date format displayed in your workspace is MM/DD/YYYY, but is available in the API with the format YYYY-MM-DD. Dates are limited to 0 to 9999.
Note that contributors have a Today button they can use to automatically provide the current date.
Date & Time
Where the contributor will be asked to provide a date and a time of day.
The date format displayed in your workspace is MM/DD/YYYY 00:00:00, but is available in the API with the format YYYY-MM-DDTHH:MM:SS+00:00, or year-month-day-THour:Minute:Seconds+Timezone. Dates are limited to 0 to 9999.
See this Wikipedia page for help understanding time notation.
Note that contributors have a Now button they can use to automatically provide the current date and time.
Boolean
This creates a true or false toggle switch. If used in your filters, it will show up under the name you give it, selectable for all datasets for which it's true.
Integer
Accepts numerical values. These can be positive or negative, but must be whole numbers.
Decimal
Like the "Integer" field type, only decimal values are accepted.
Long text with HTML
This field type is meant for longer entries where you want users to have access to HTML.
Long text
This is meant for longer text entries.
Rules: Help text and further options
Help text
This is where you provide a description or information to help users understand the field.
Level of requirement
For every field, once you have defined its type and value, you have the option of making that field optional, recommended, or mandatory.
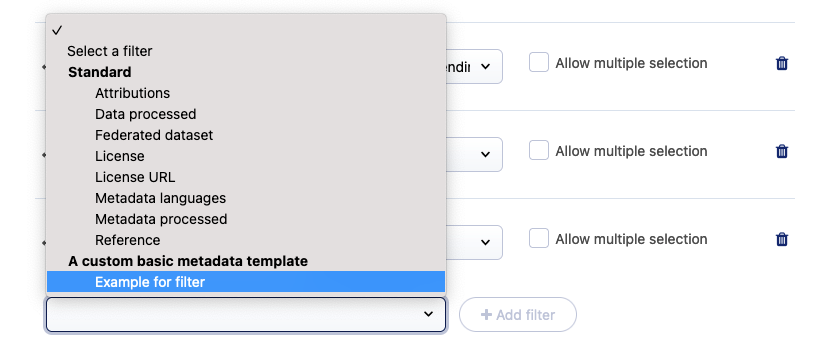
Catalog filter
This option allows you to add this field to the filters for your catalog and in the Explore API. Having enabled this option for a given field, you can then go to Configuration > Catalog and dataset pages > Catalog page — filters, where that field will now be an option. Select that field and apply it as a filter.
Don't forget to save!
Don't forget to click Save in the upper-right corner once you're done creating of modifying your template.
Modifying an existing template or field
We recommend reading through this entire section before attempting to edit any existing template or field. The impact of the change you wish to make may not be immediately obvious.
Naturally, if you need to modify a template (or individual field or value) that has not yet begun to be used, there is no issue: Delete the offending template (or field or value) and create its replacement.
It's when a field or value has already begun to be used, however, that there can be unexpected consequences to modifying them.
What happens if I delete a template or a field?
Templates can be deleted by clicking their trashcan icon in the list of templates, or else the three-dot menu to the upper-right inside the template itself.
If you delete a template or field once they have begun to be used, you will permanently lose their related metadata.
We recommend deactivating the template, in which case that metadata will no longer be visible, but the values will not be lost.
Modifying fields: a summary view
The table below summarizes what can and cannot be modified within a field. See further down for more information.
Tab | What you can change | What you cannot change |
Information | Name | Identifier |
Type & Values | Values
Text & List
| Once the template has been saved: Field type Values |
Rules | Help text Requirement level Catalog filter setting |
What happens if I delete a value?
If you delete a value from a text or list field (keeping in mind that these values are optional):
The metadata values themselves will remain as is in the portal and back office. Simply, that option will no longer be proposed for future selections.
If you delete a value from a single-select field (remember, at least one value is required when you create this kind of field):
In the back office, the previous metadata value will no longer be visible, but will simply be marked "N/A."
In the portal, the previous metadata value will remain. If the user edits the value and republishes the dataset, the value will be updated.
If you delete a value from a multi-select field (remember, at least one value is required when you create this kind of field):
The previous metadata value will no longer be visible in the back office. The field will look as if no selection was ever made.
In the portal, the previous metadata value will remain. If or when the user edits the value and republishes the dataset, at that point the value would be updated.
How about if I just deactivate a template?
The template remains in your list of templates, marked as inactive.
In the back office, that template is no longer proposed in your datasets' Information tab.
In the portal, as well as within the Automation API and Search API, that metadata will not be visible.
However, note that the metadata has not been deleted. Assuming no other change, if you reactivate the template, you will once again be able to see that metadata.